During the winter break of 2017, I decided to do three projects (two projects + bonus project) after getting bored of playing games on my computer. DIY was something that always interested me and I thought with all the time I have, it's a good practice for me to make something that I want.
This post is first of three posts of projects that I did in January 2017. The first DIY project that I decided to do was building a guitar Pedal.
Process
The process was rather simple: Choose the materials, and make it. For the choice of the materials, I chose maple wood which was available in my school woodshop.
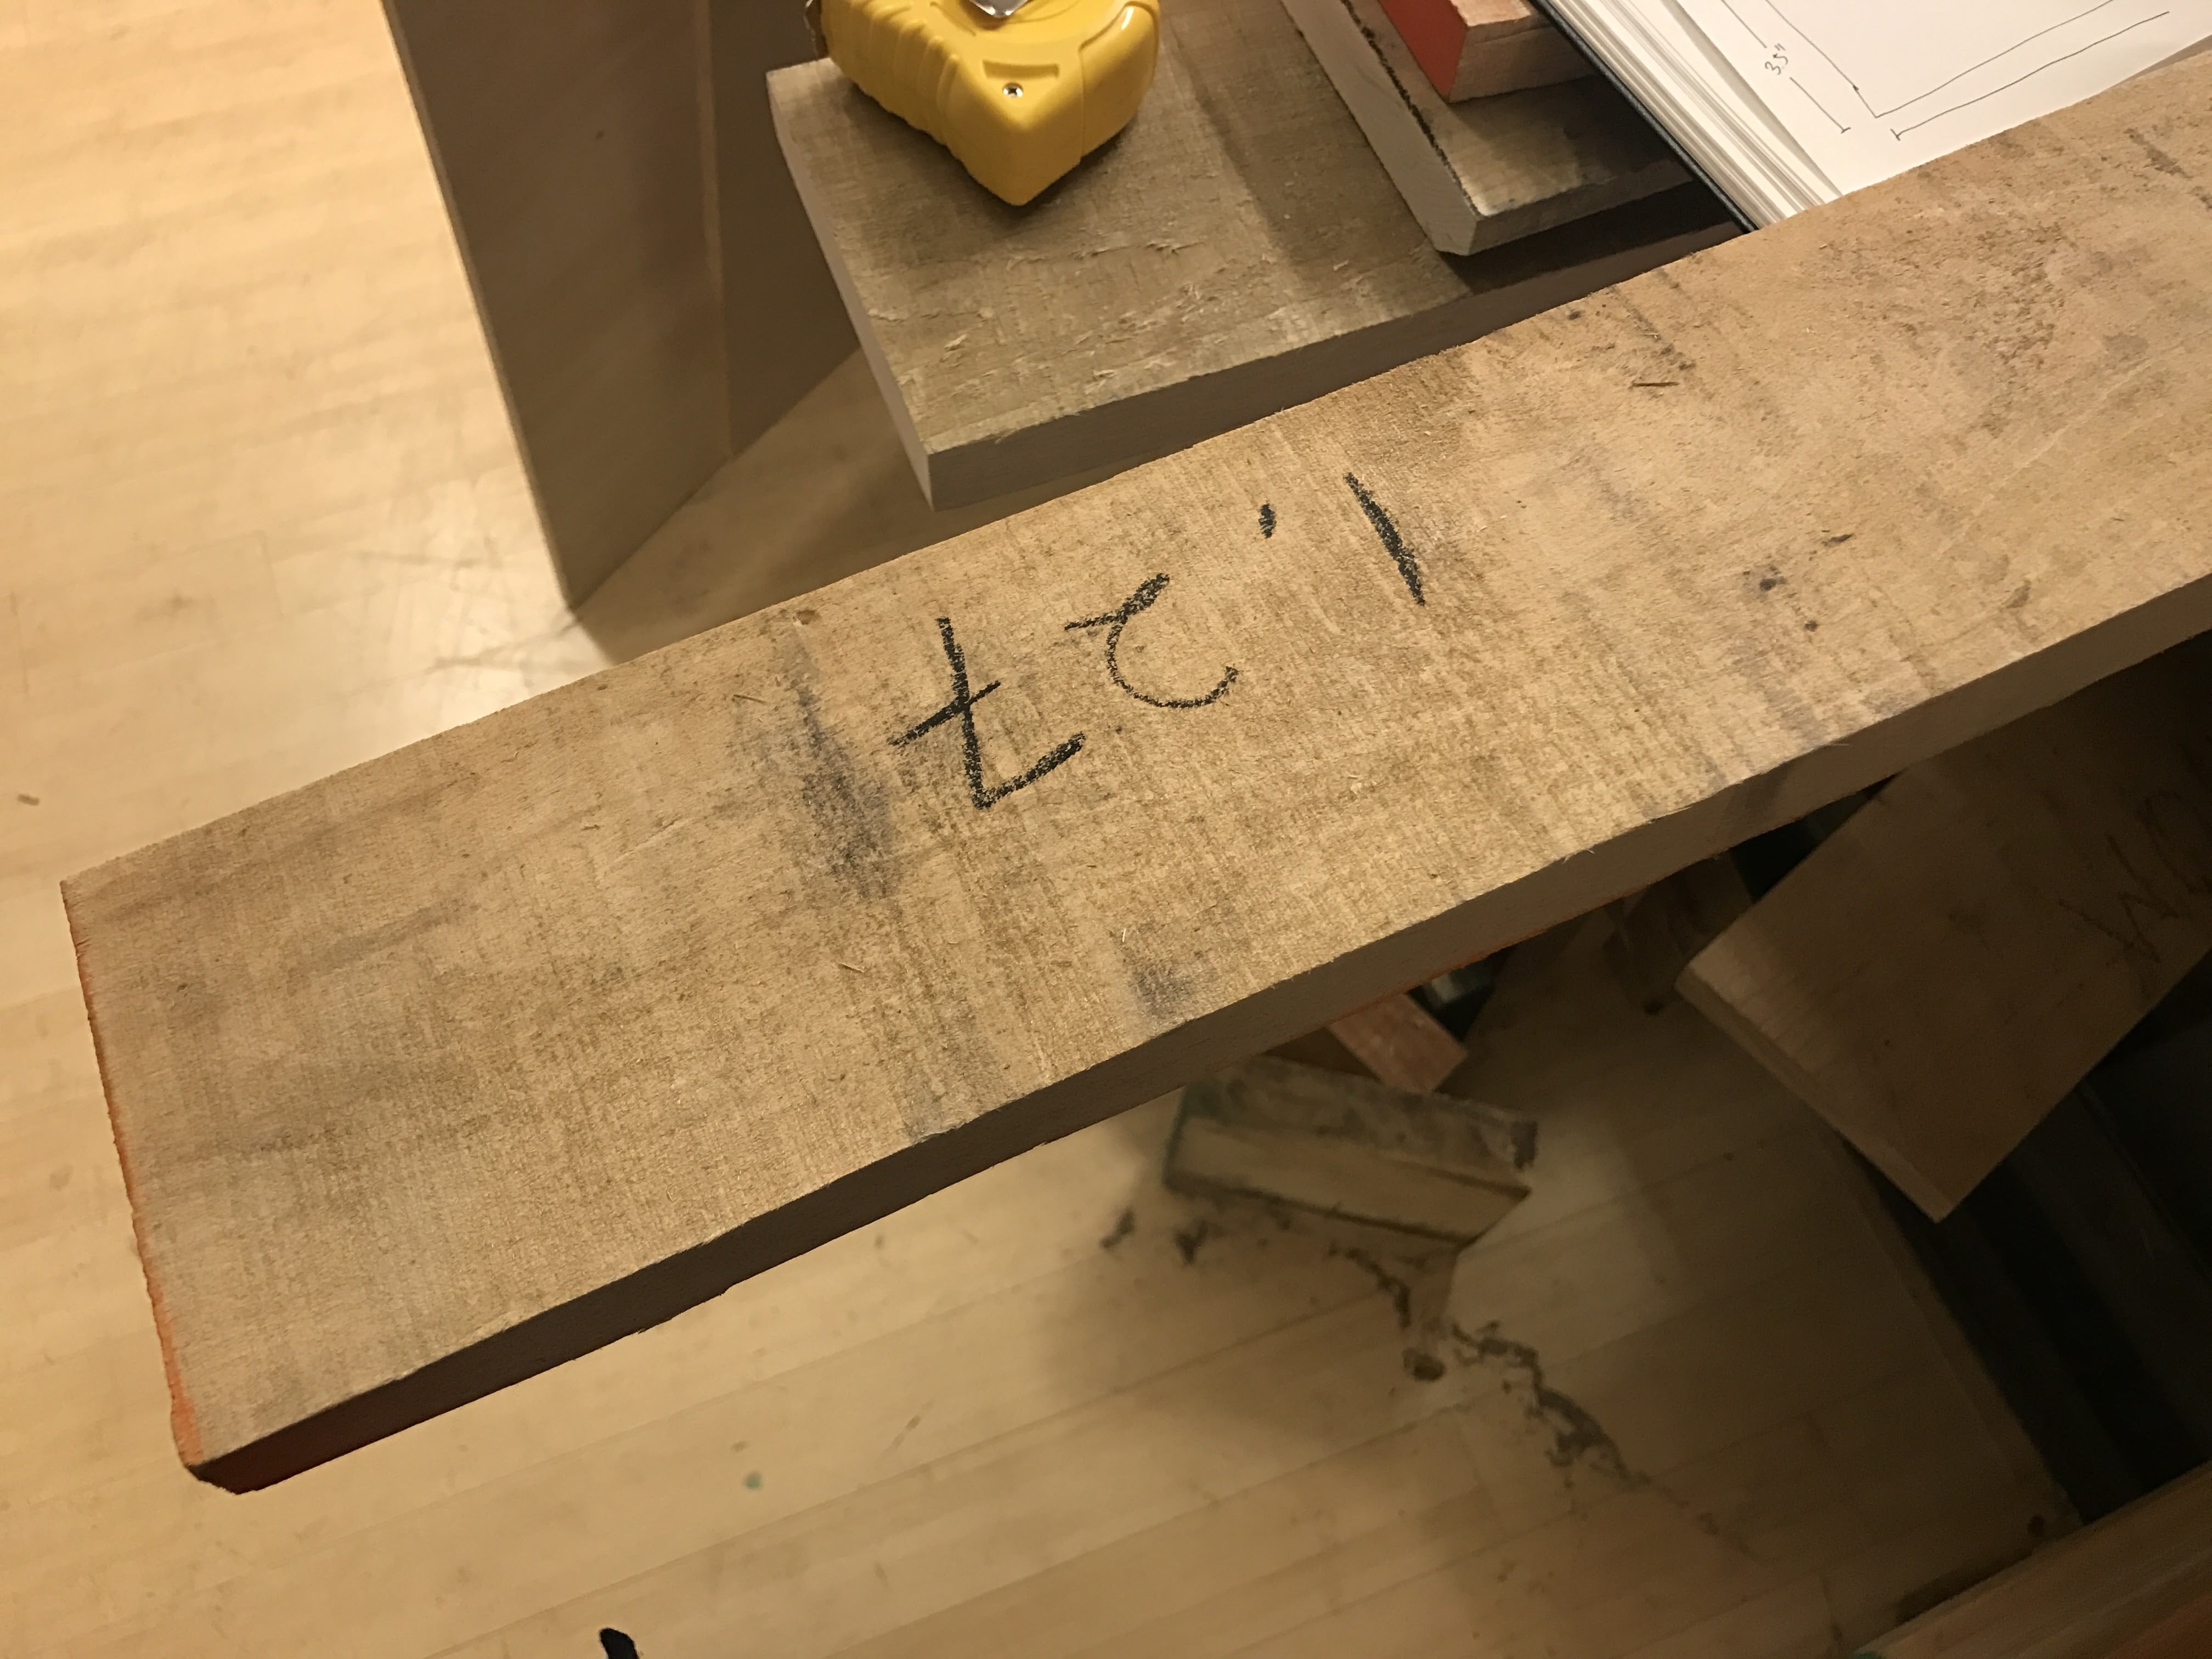
I loved the creamy color of the maple wood, so it was the perfect choice. But if I were to make another one, I think I would choose to create one with walnut with darker color.
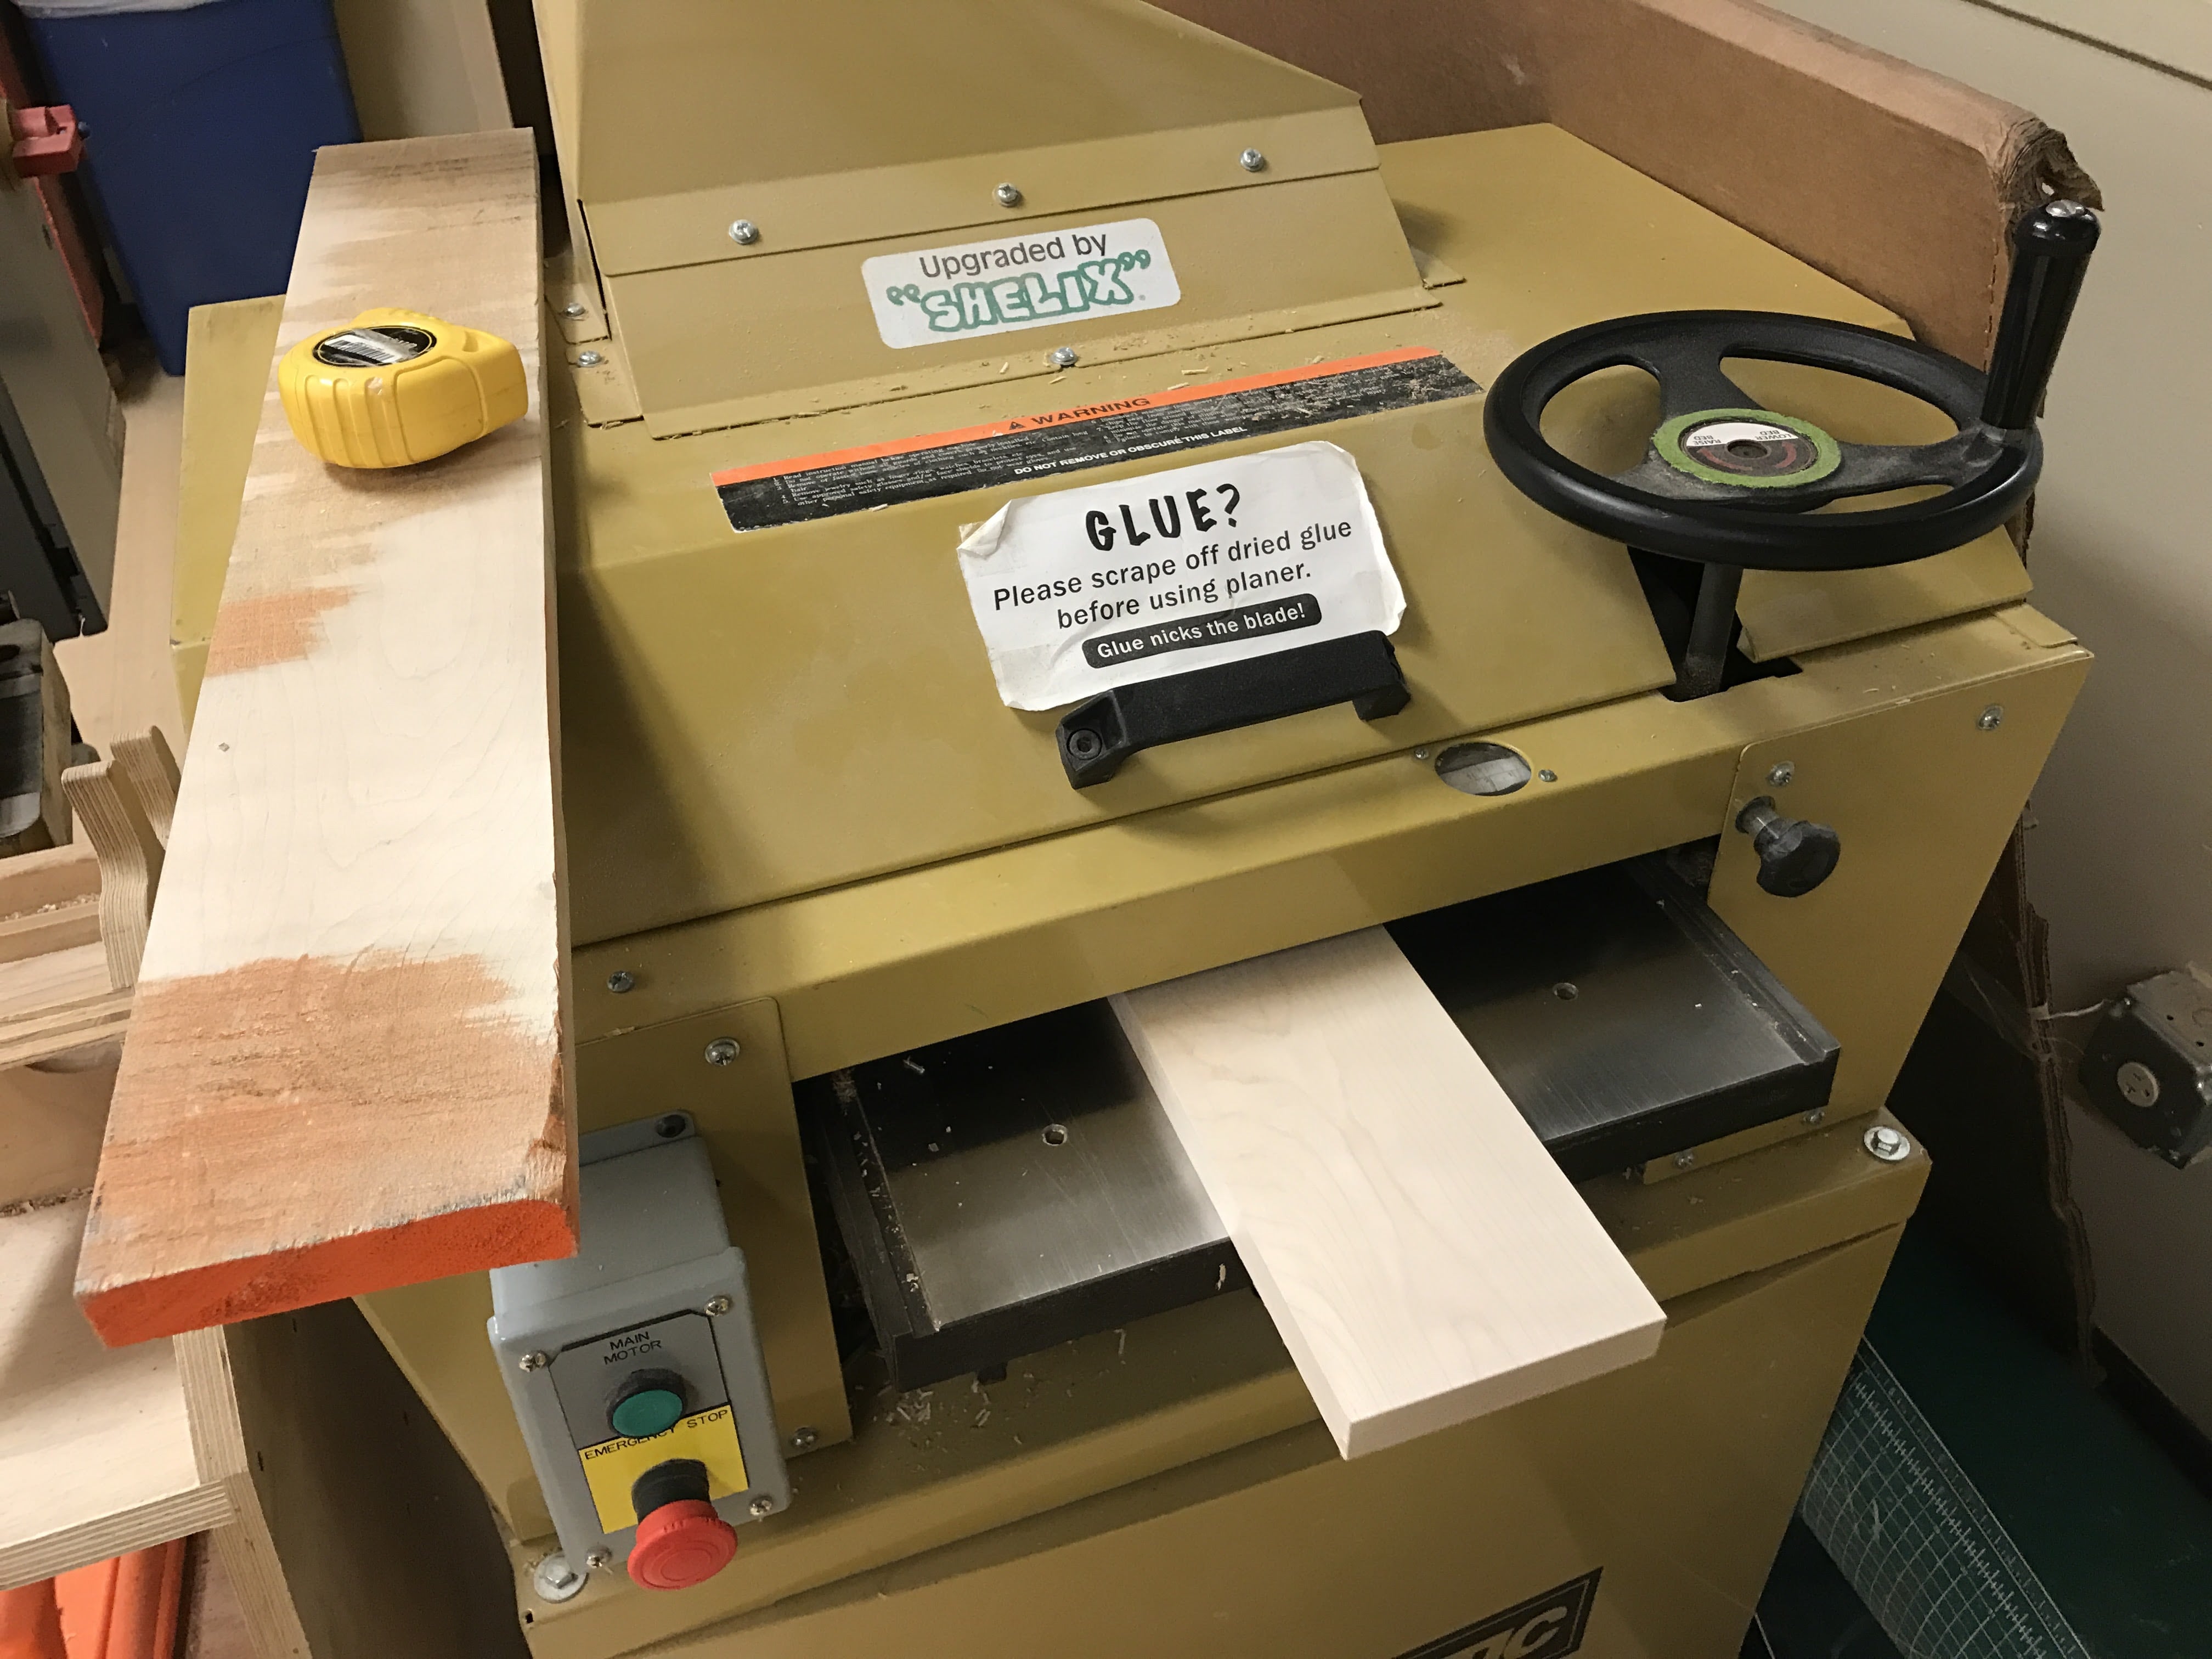
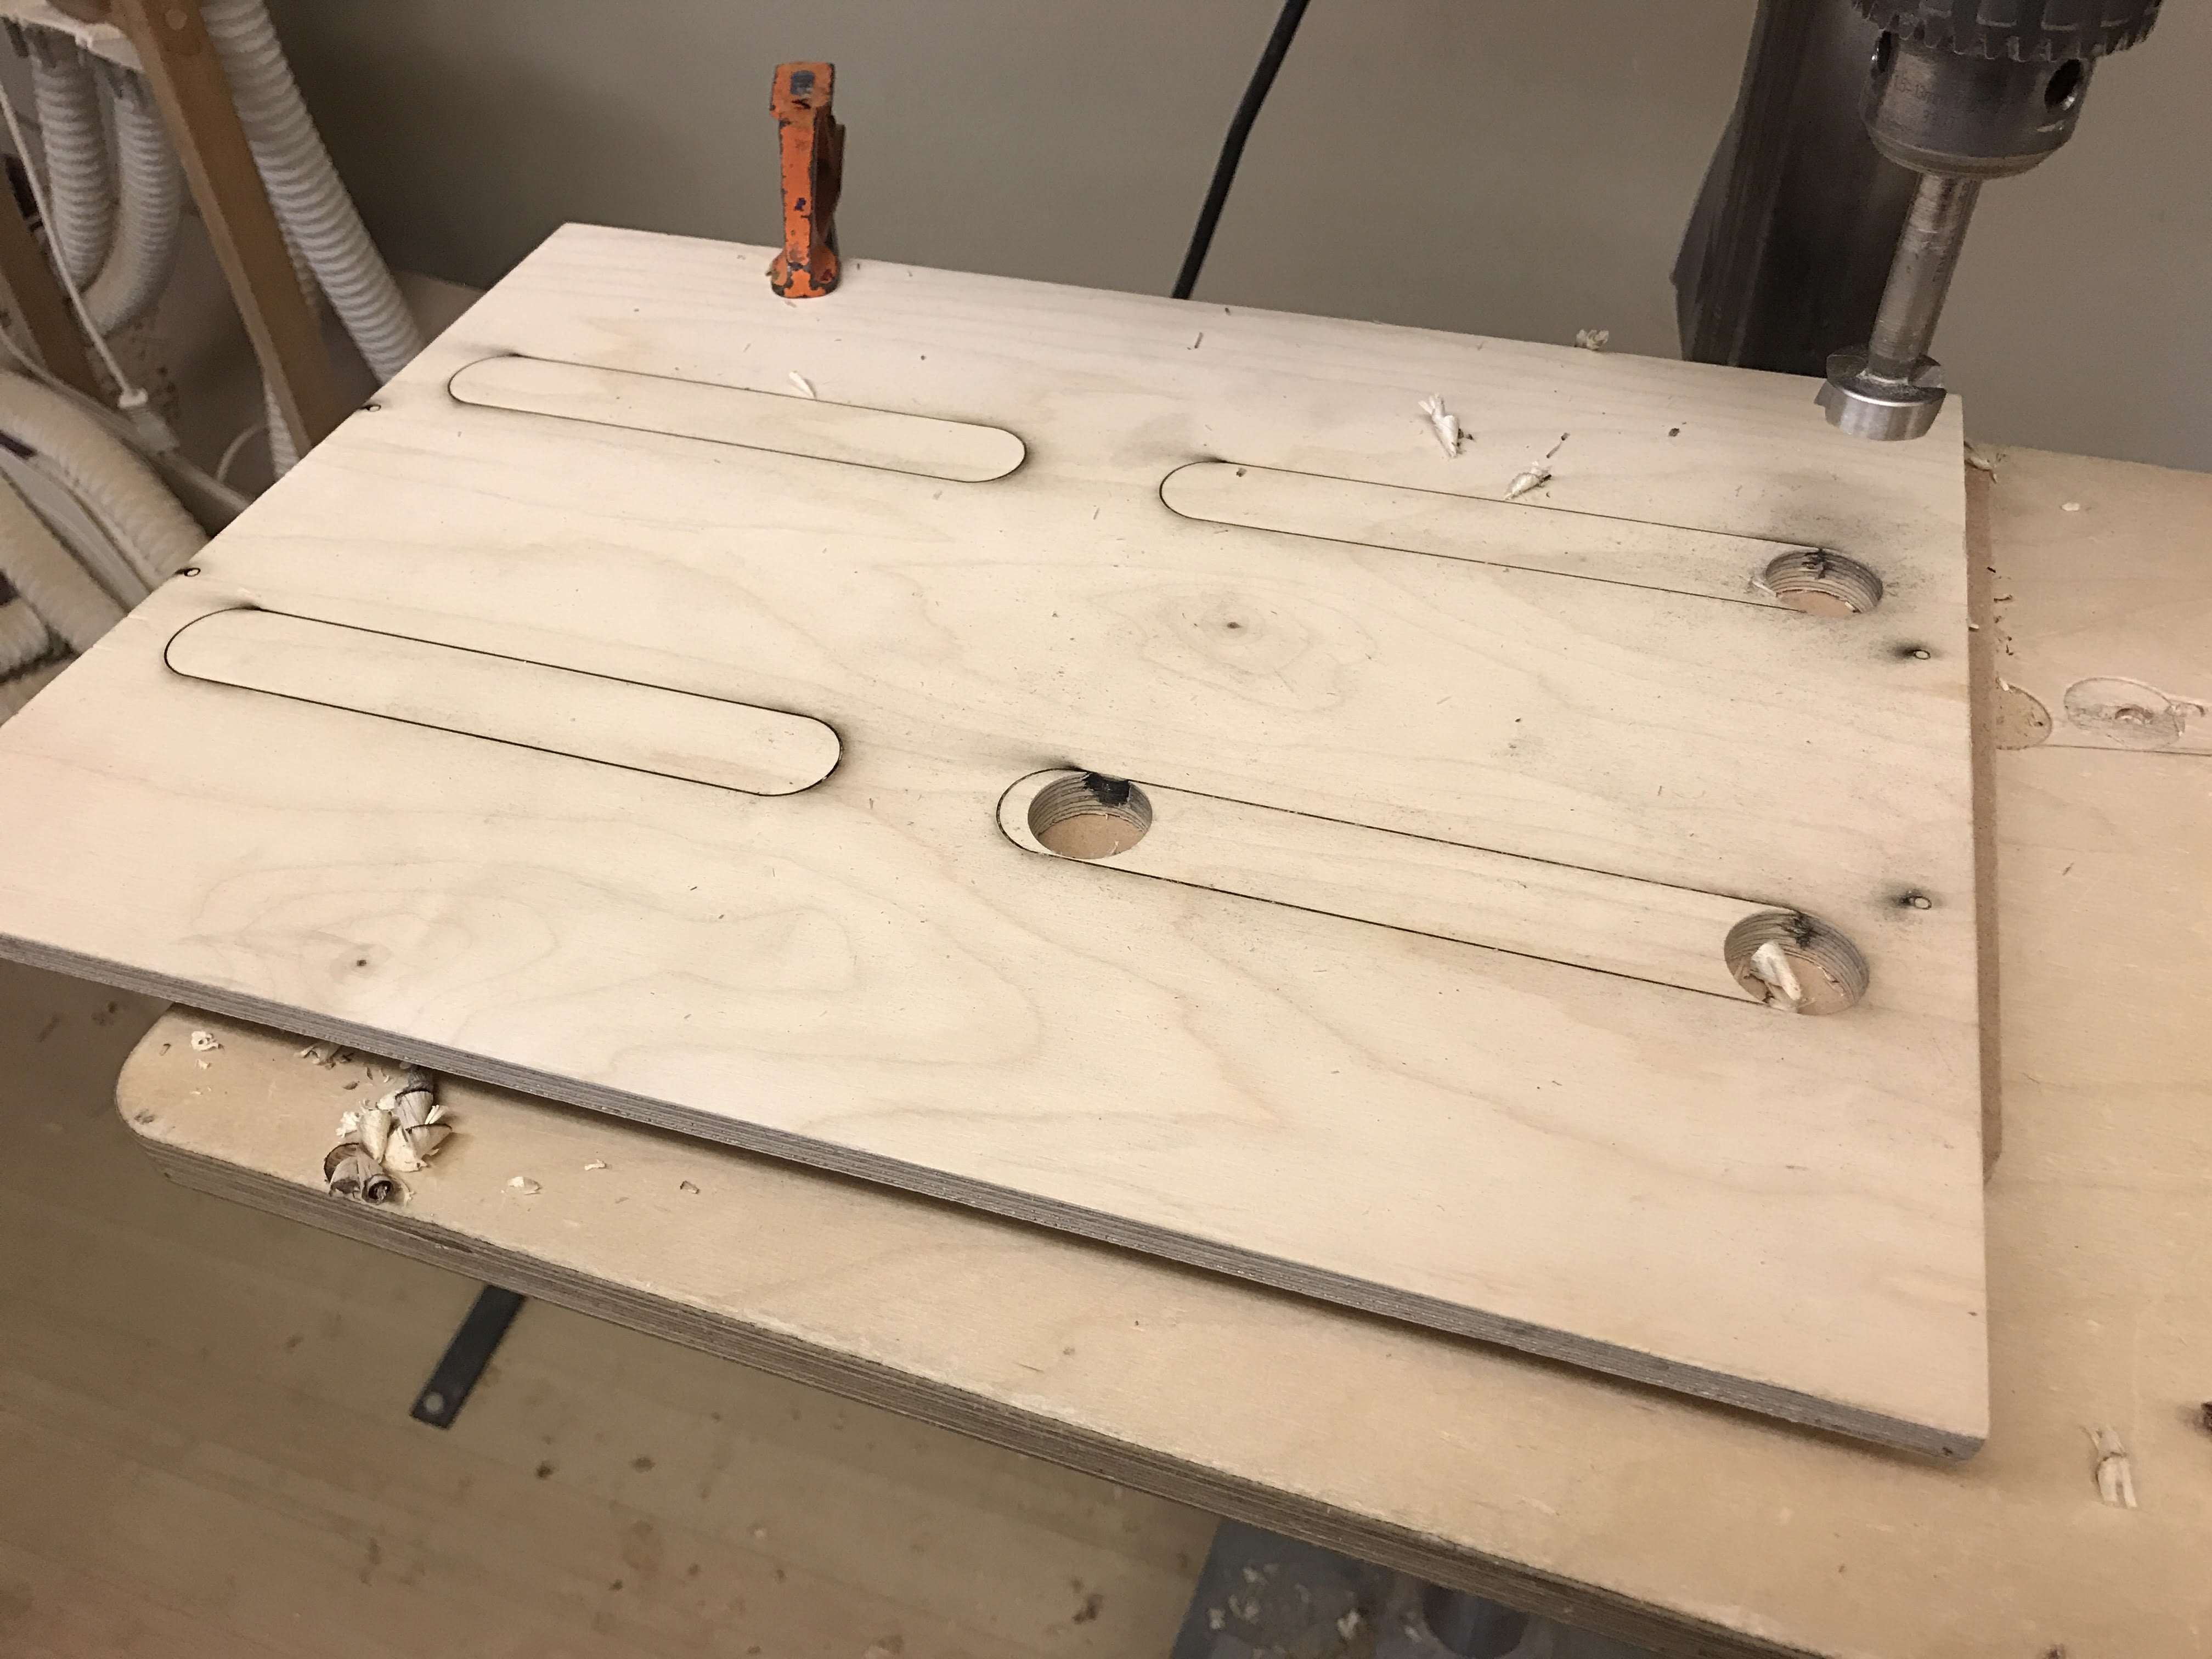
After polishing up the wood, I cutted the wood pieces to individual pieces and used lazer cut technology to create various holes (for wiring and other purposes) and joints. After assembling the individual pieces of this, it looked like this:
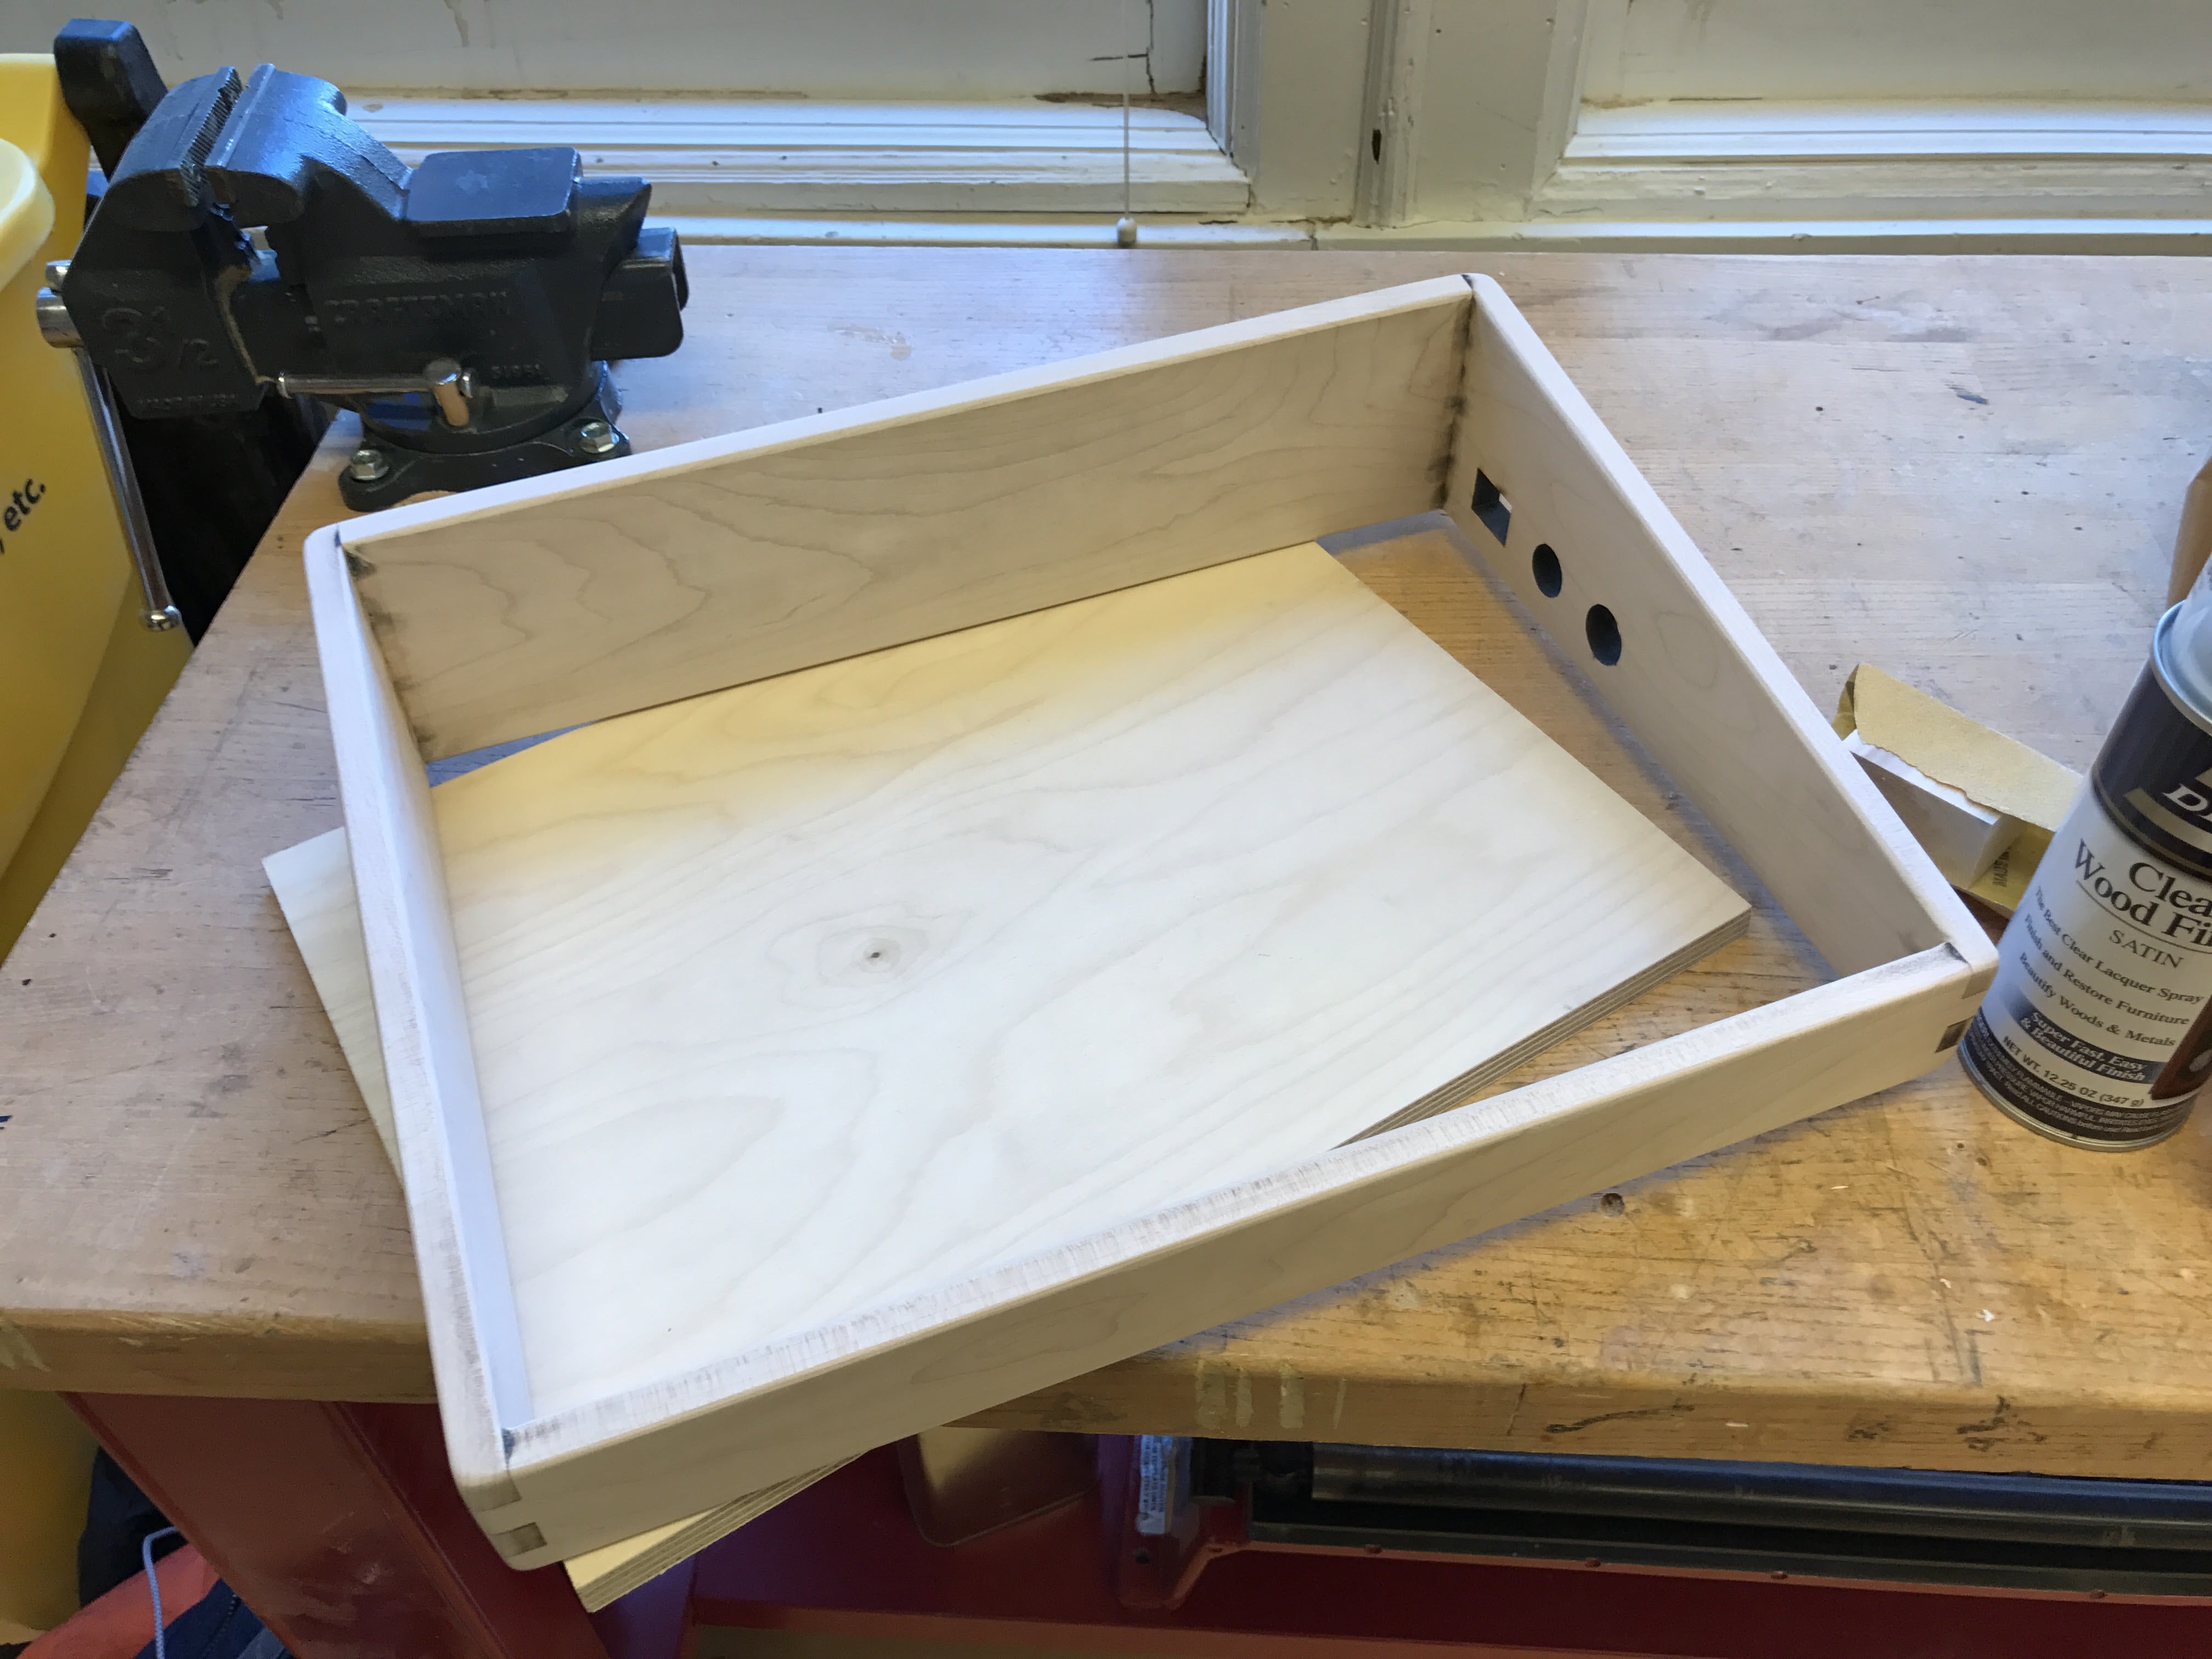
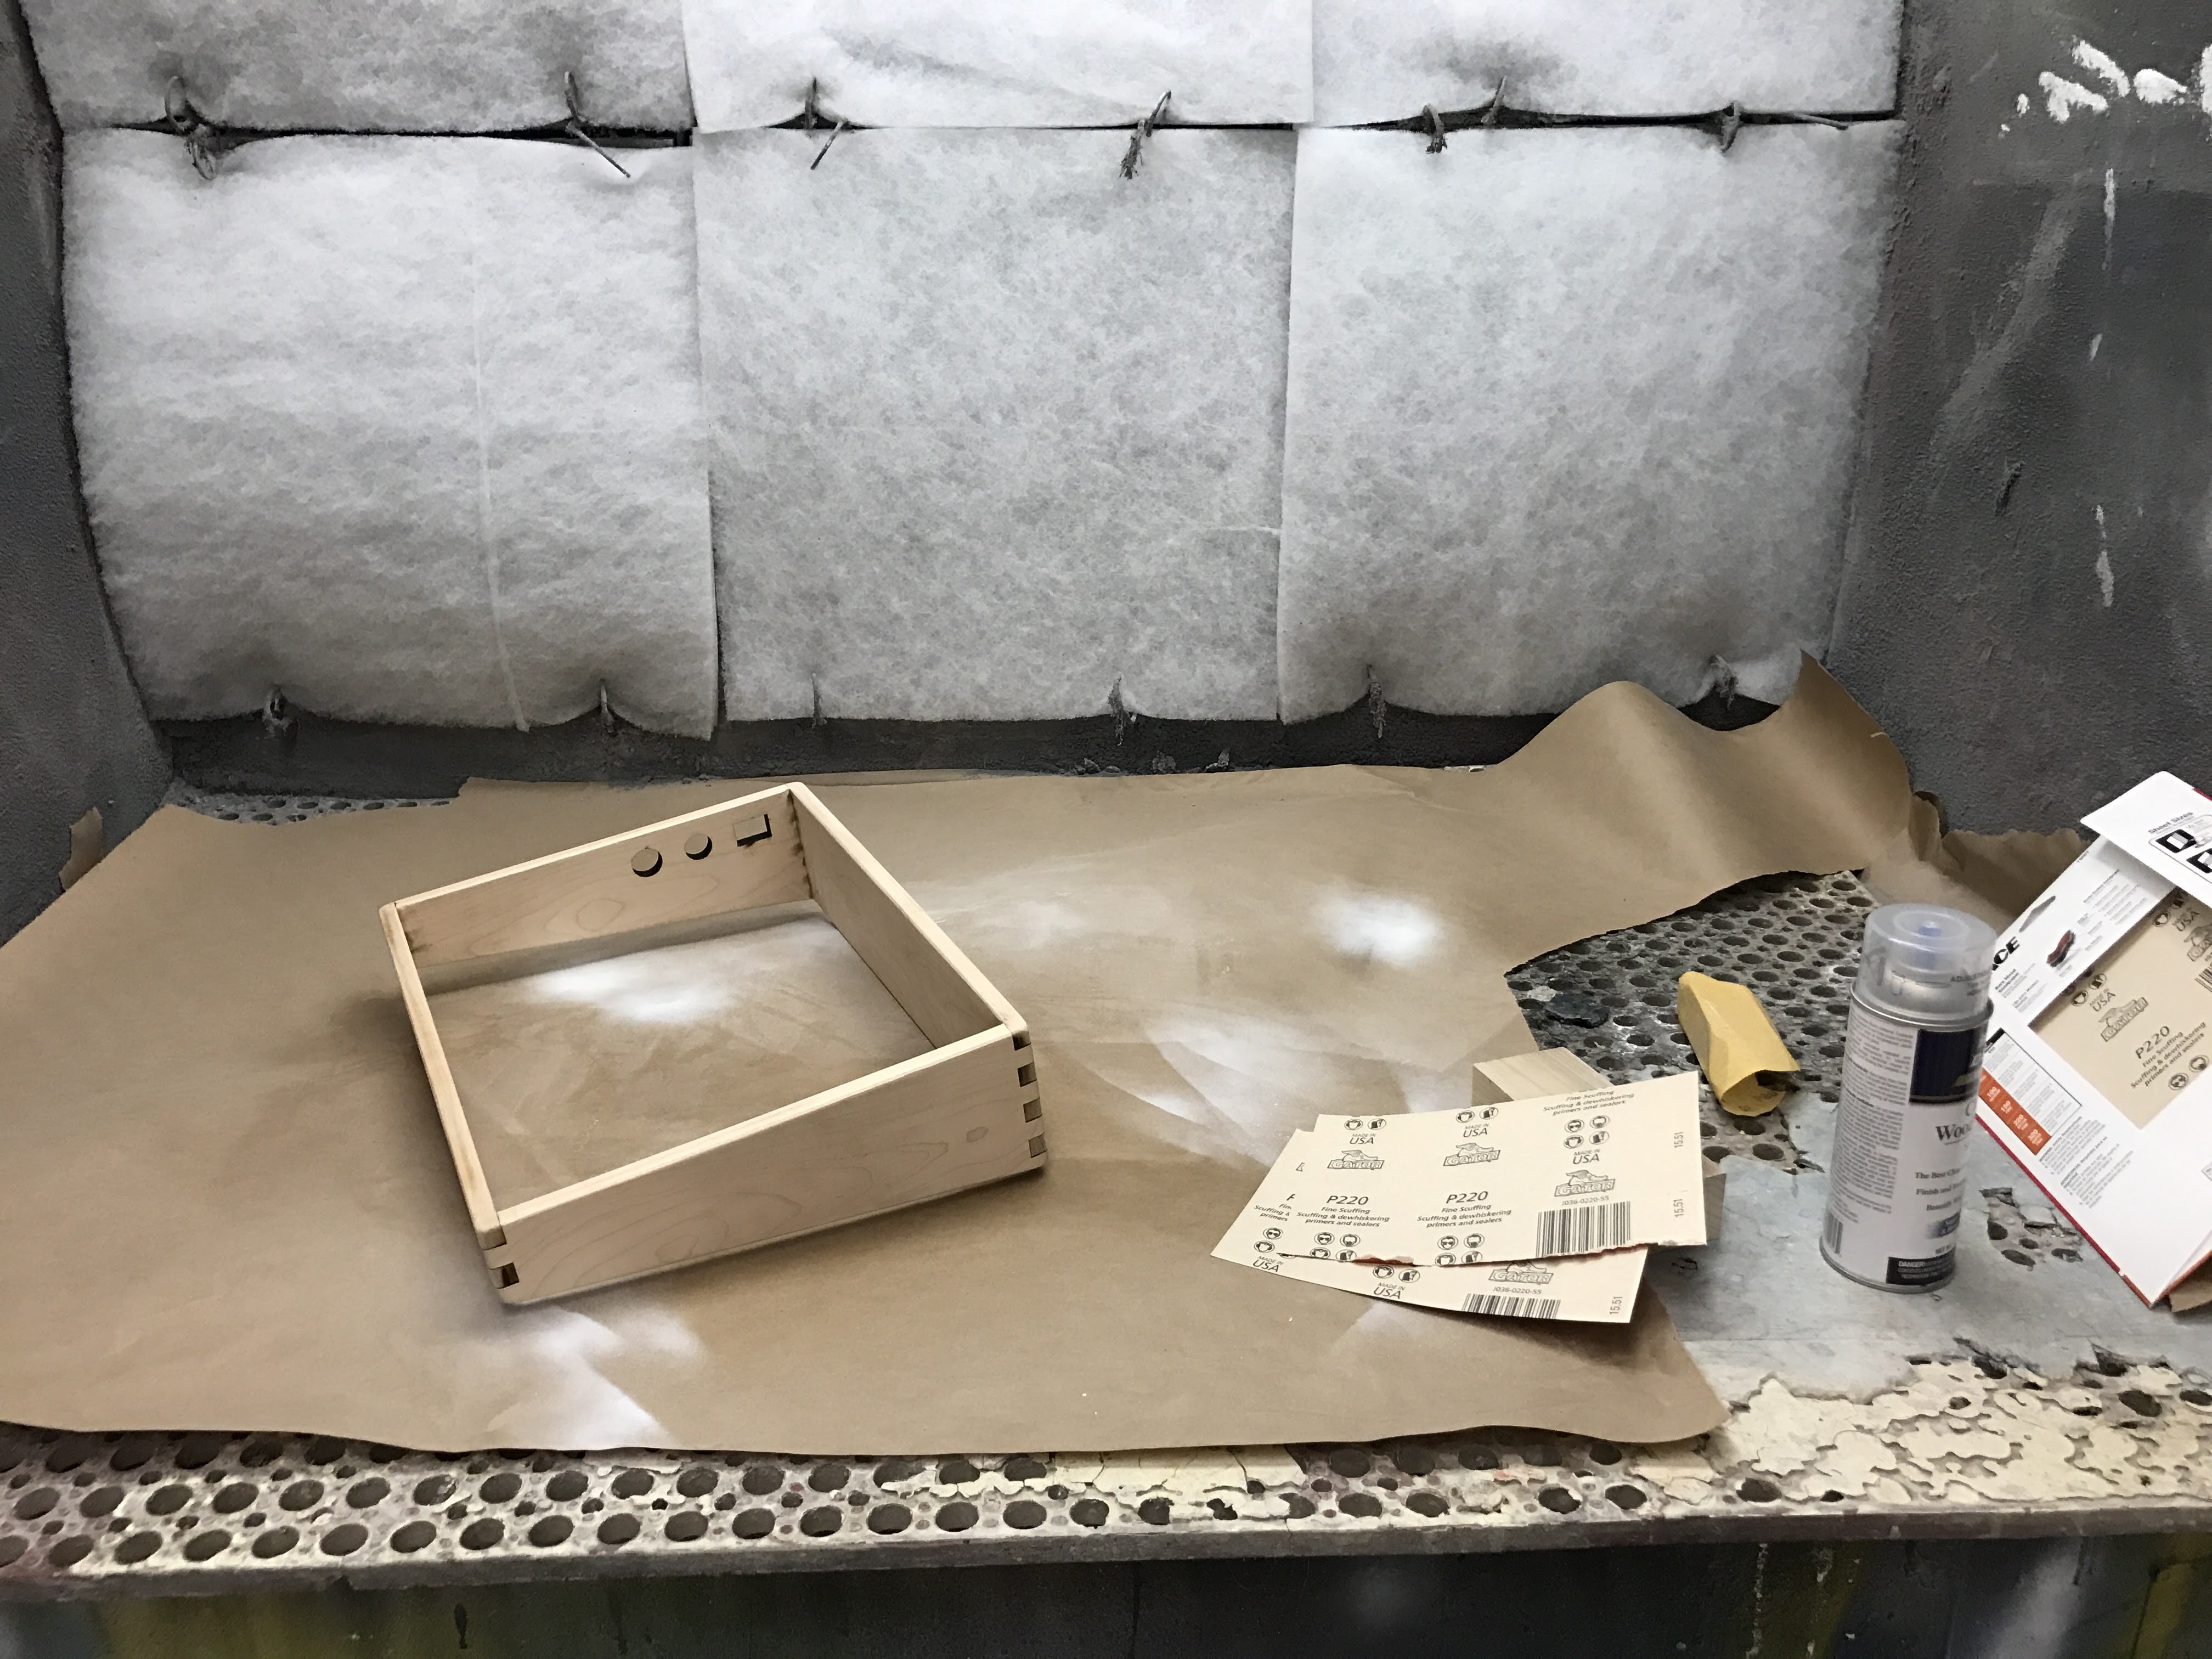
After the assembly, I added a coat of layer of lacquer to create a smooth surface for people to safely touch the pedal. I really enjoyed this process.
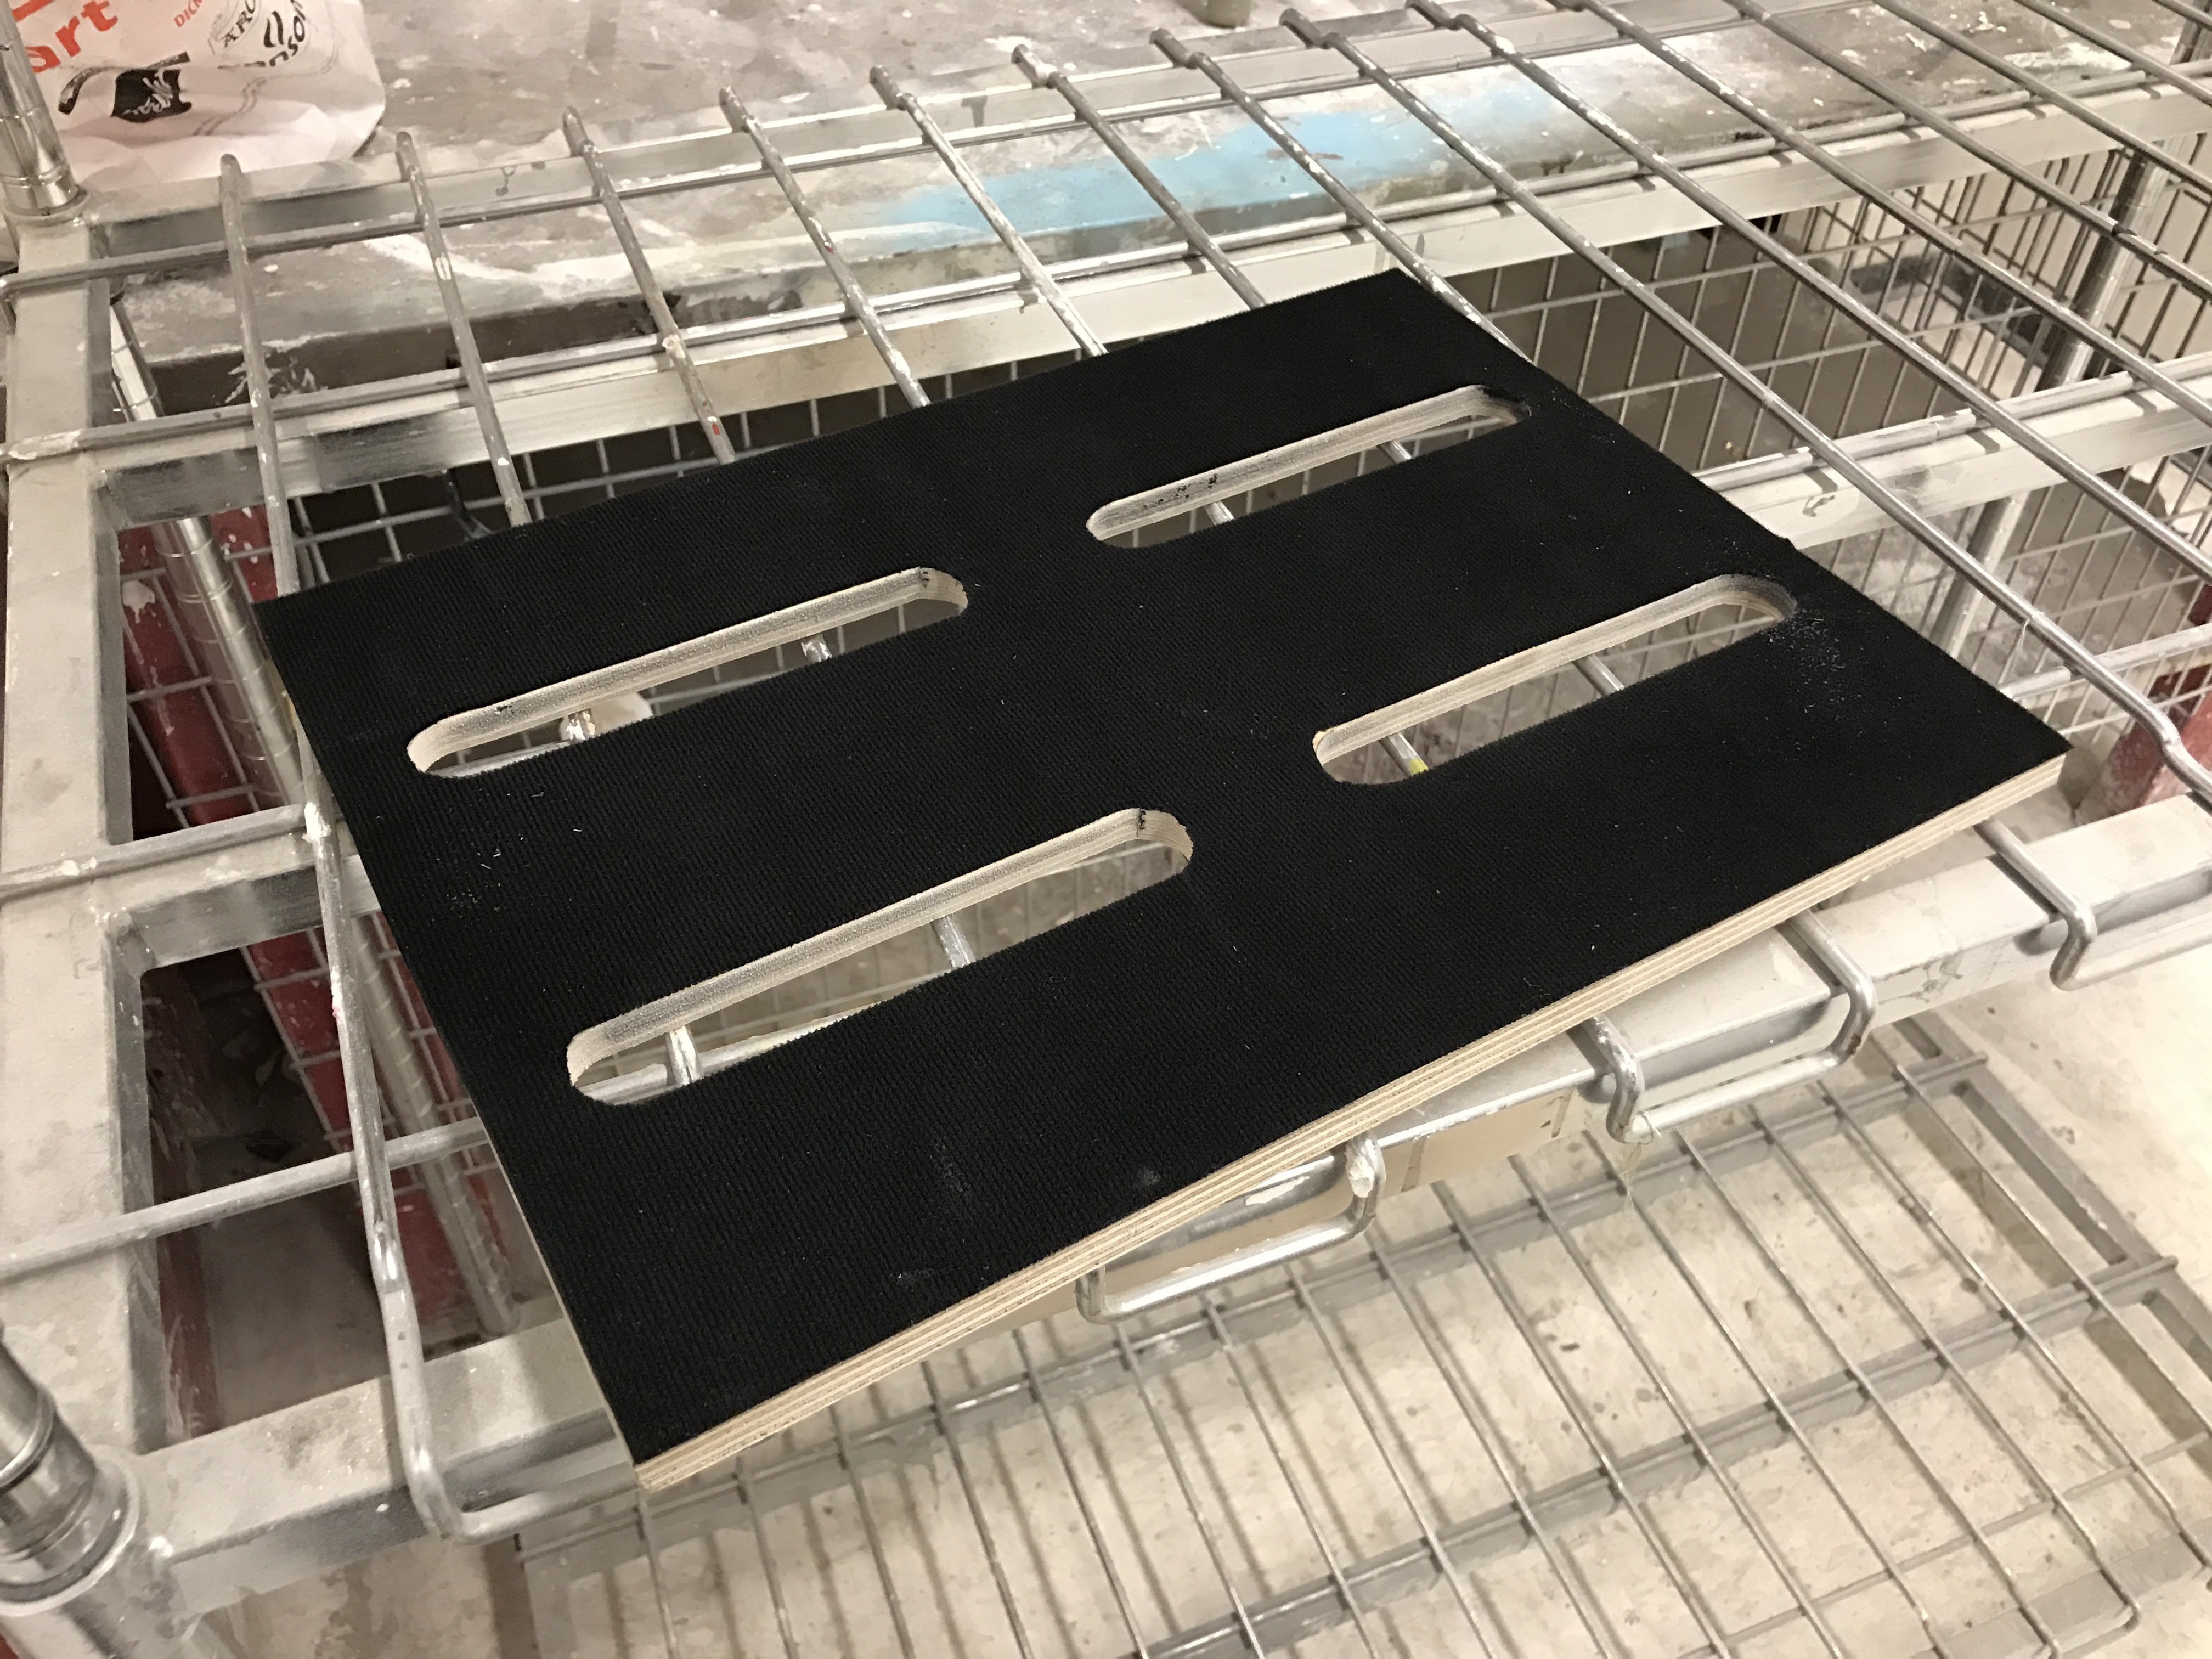
It was time to build the top layer which allows the pedals to sit on. This was also done using lazer cut, but it came short (due to unexpected thickness) so I manually cut the inner layer.
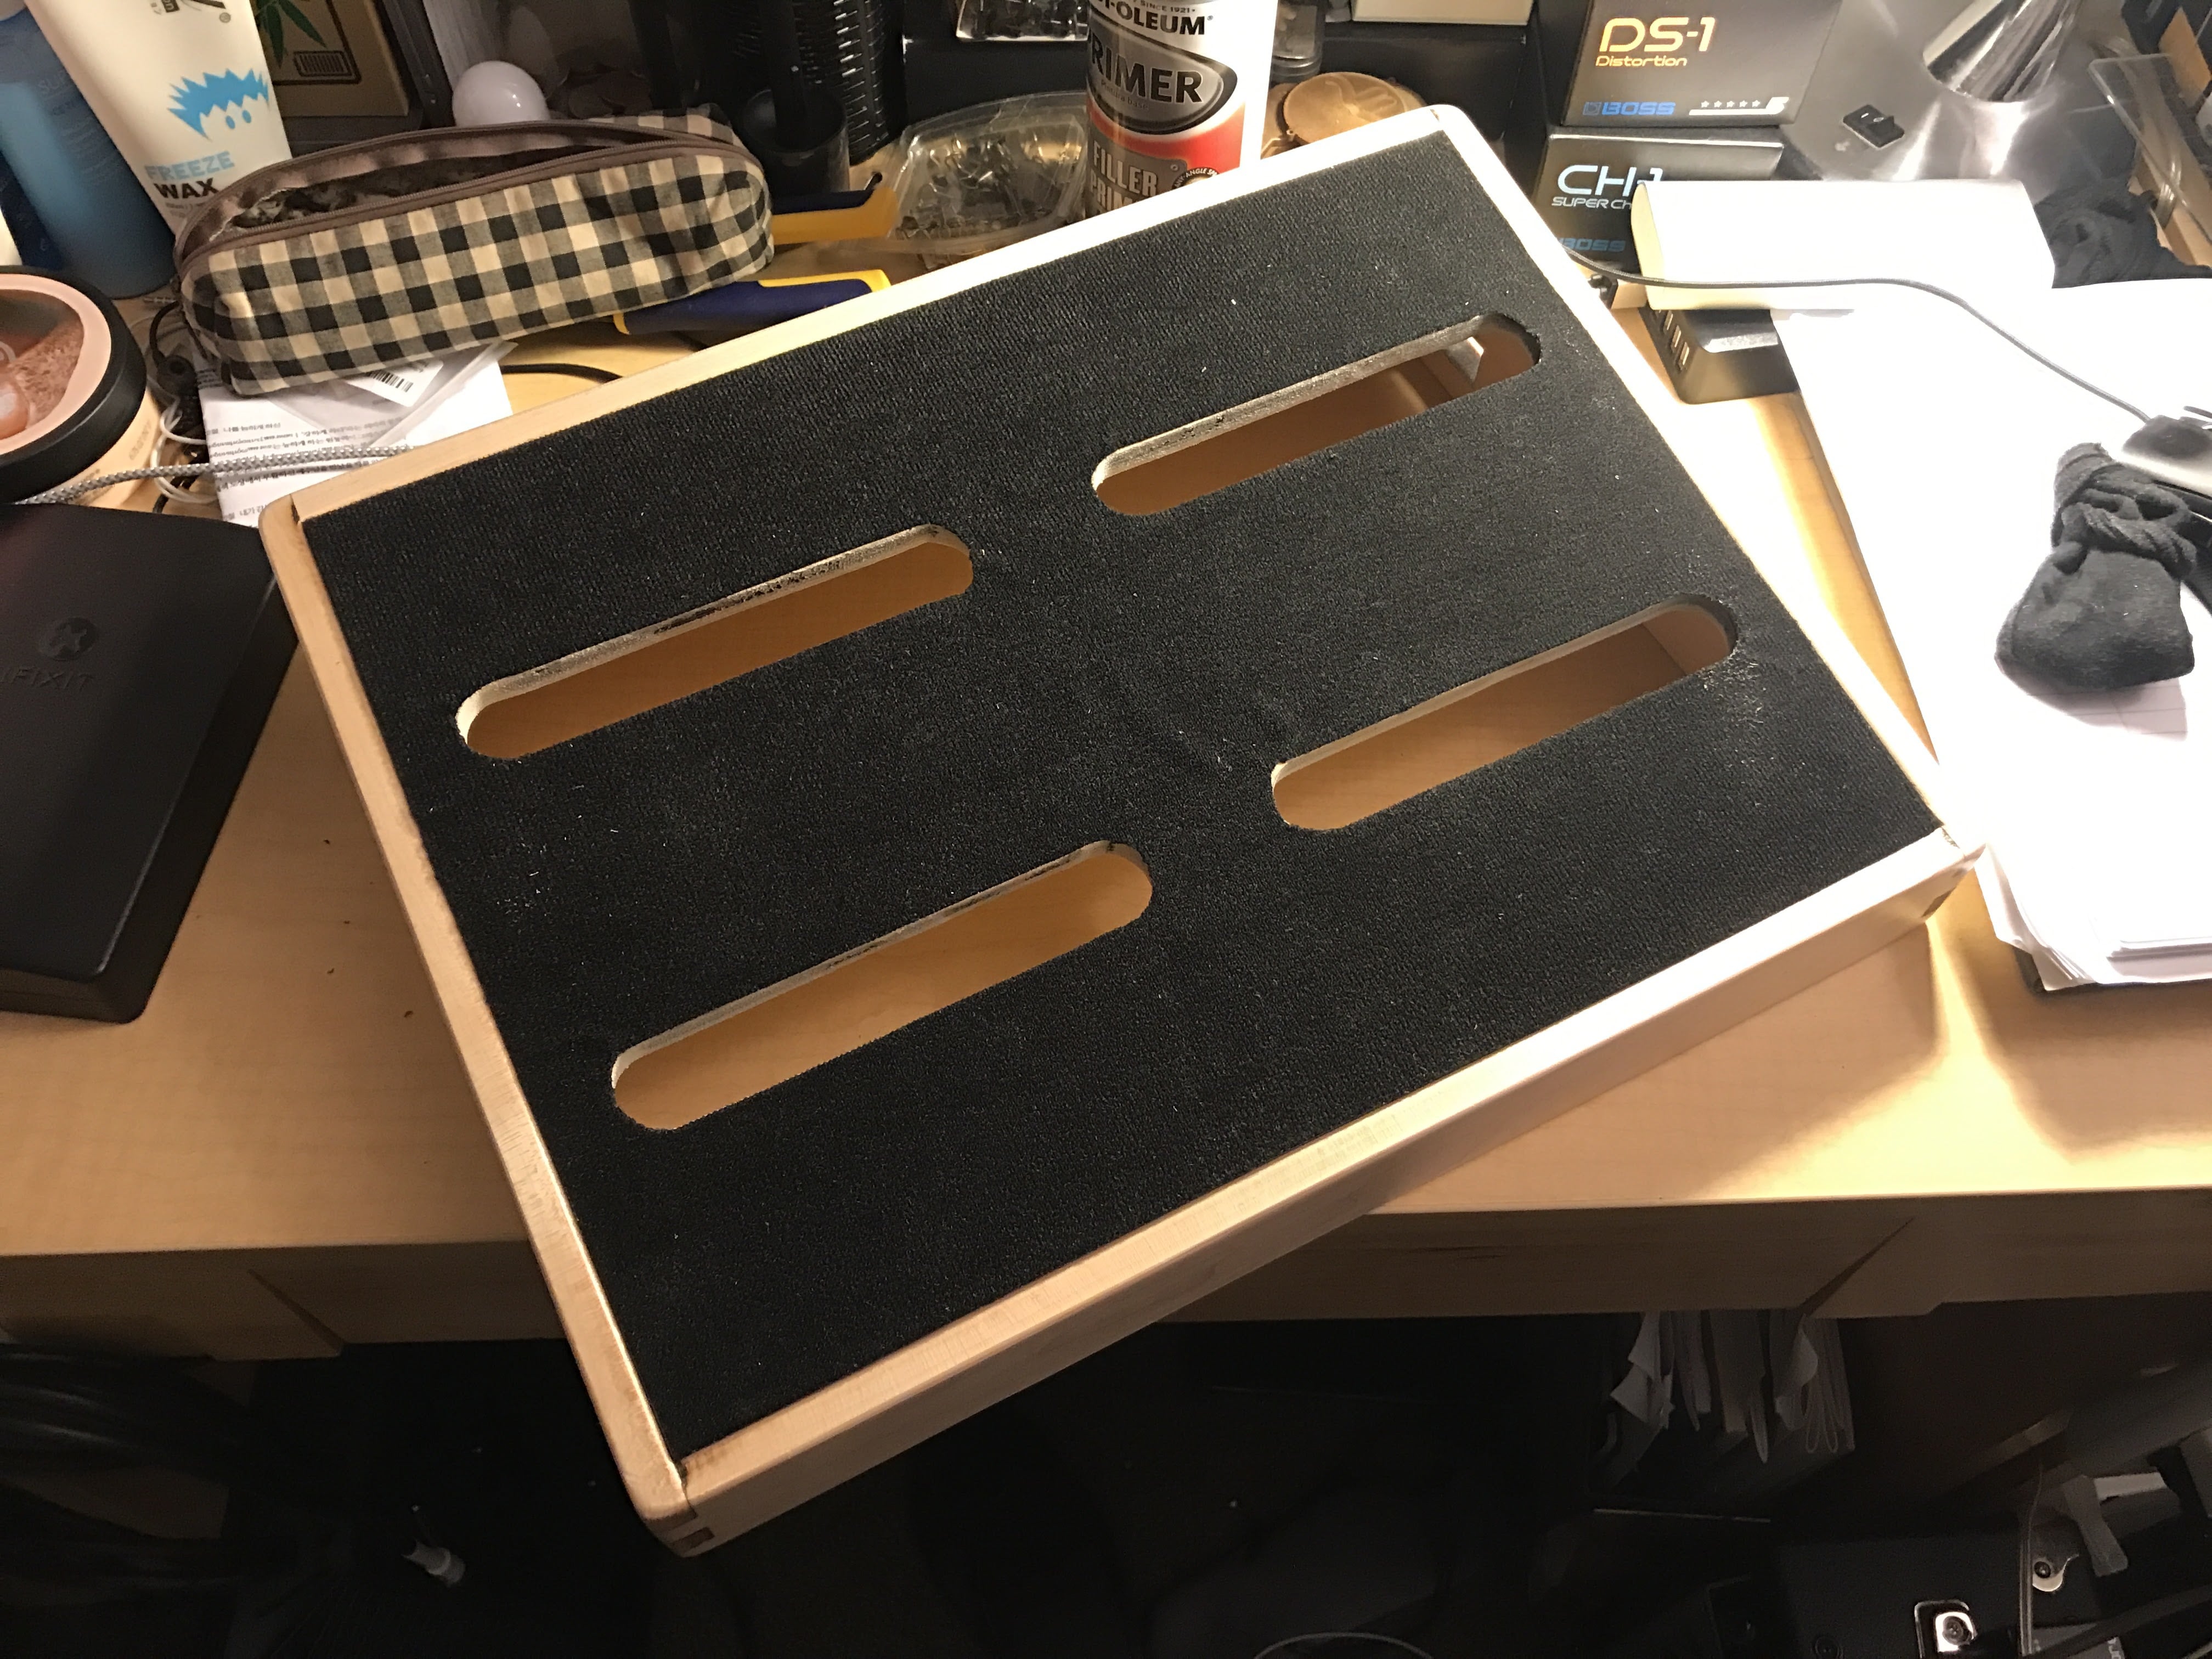
Then, I added a layer of velcro using glue:
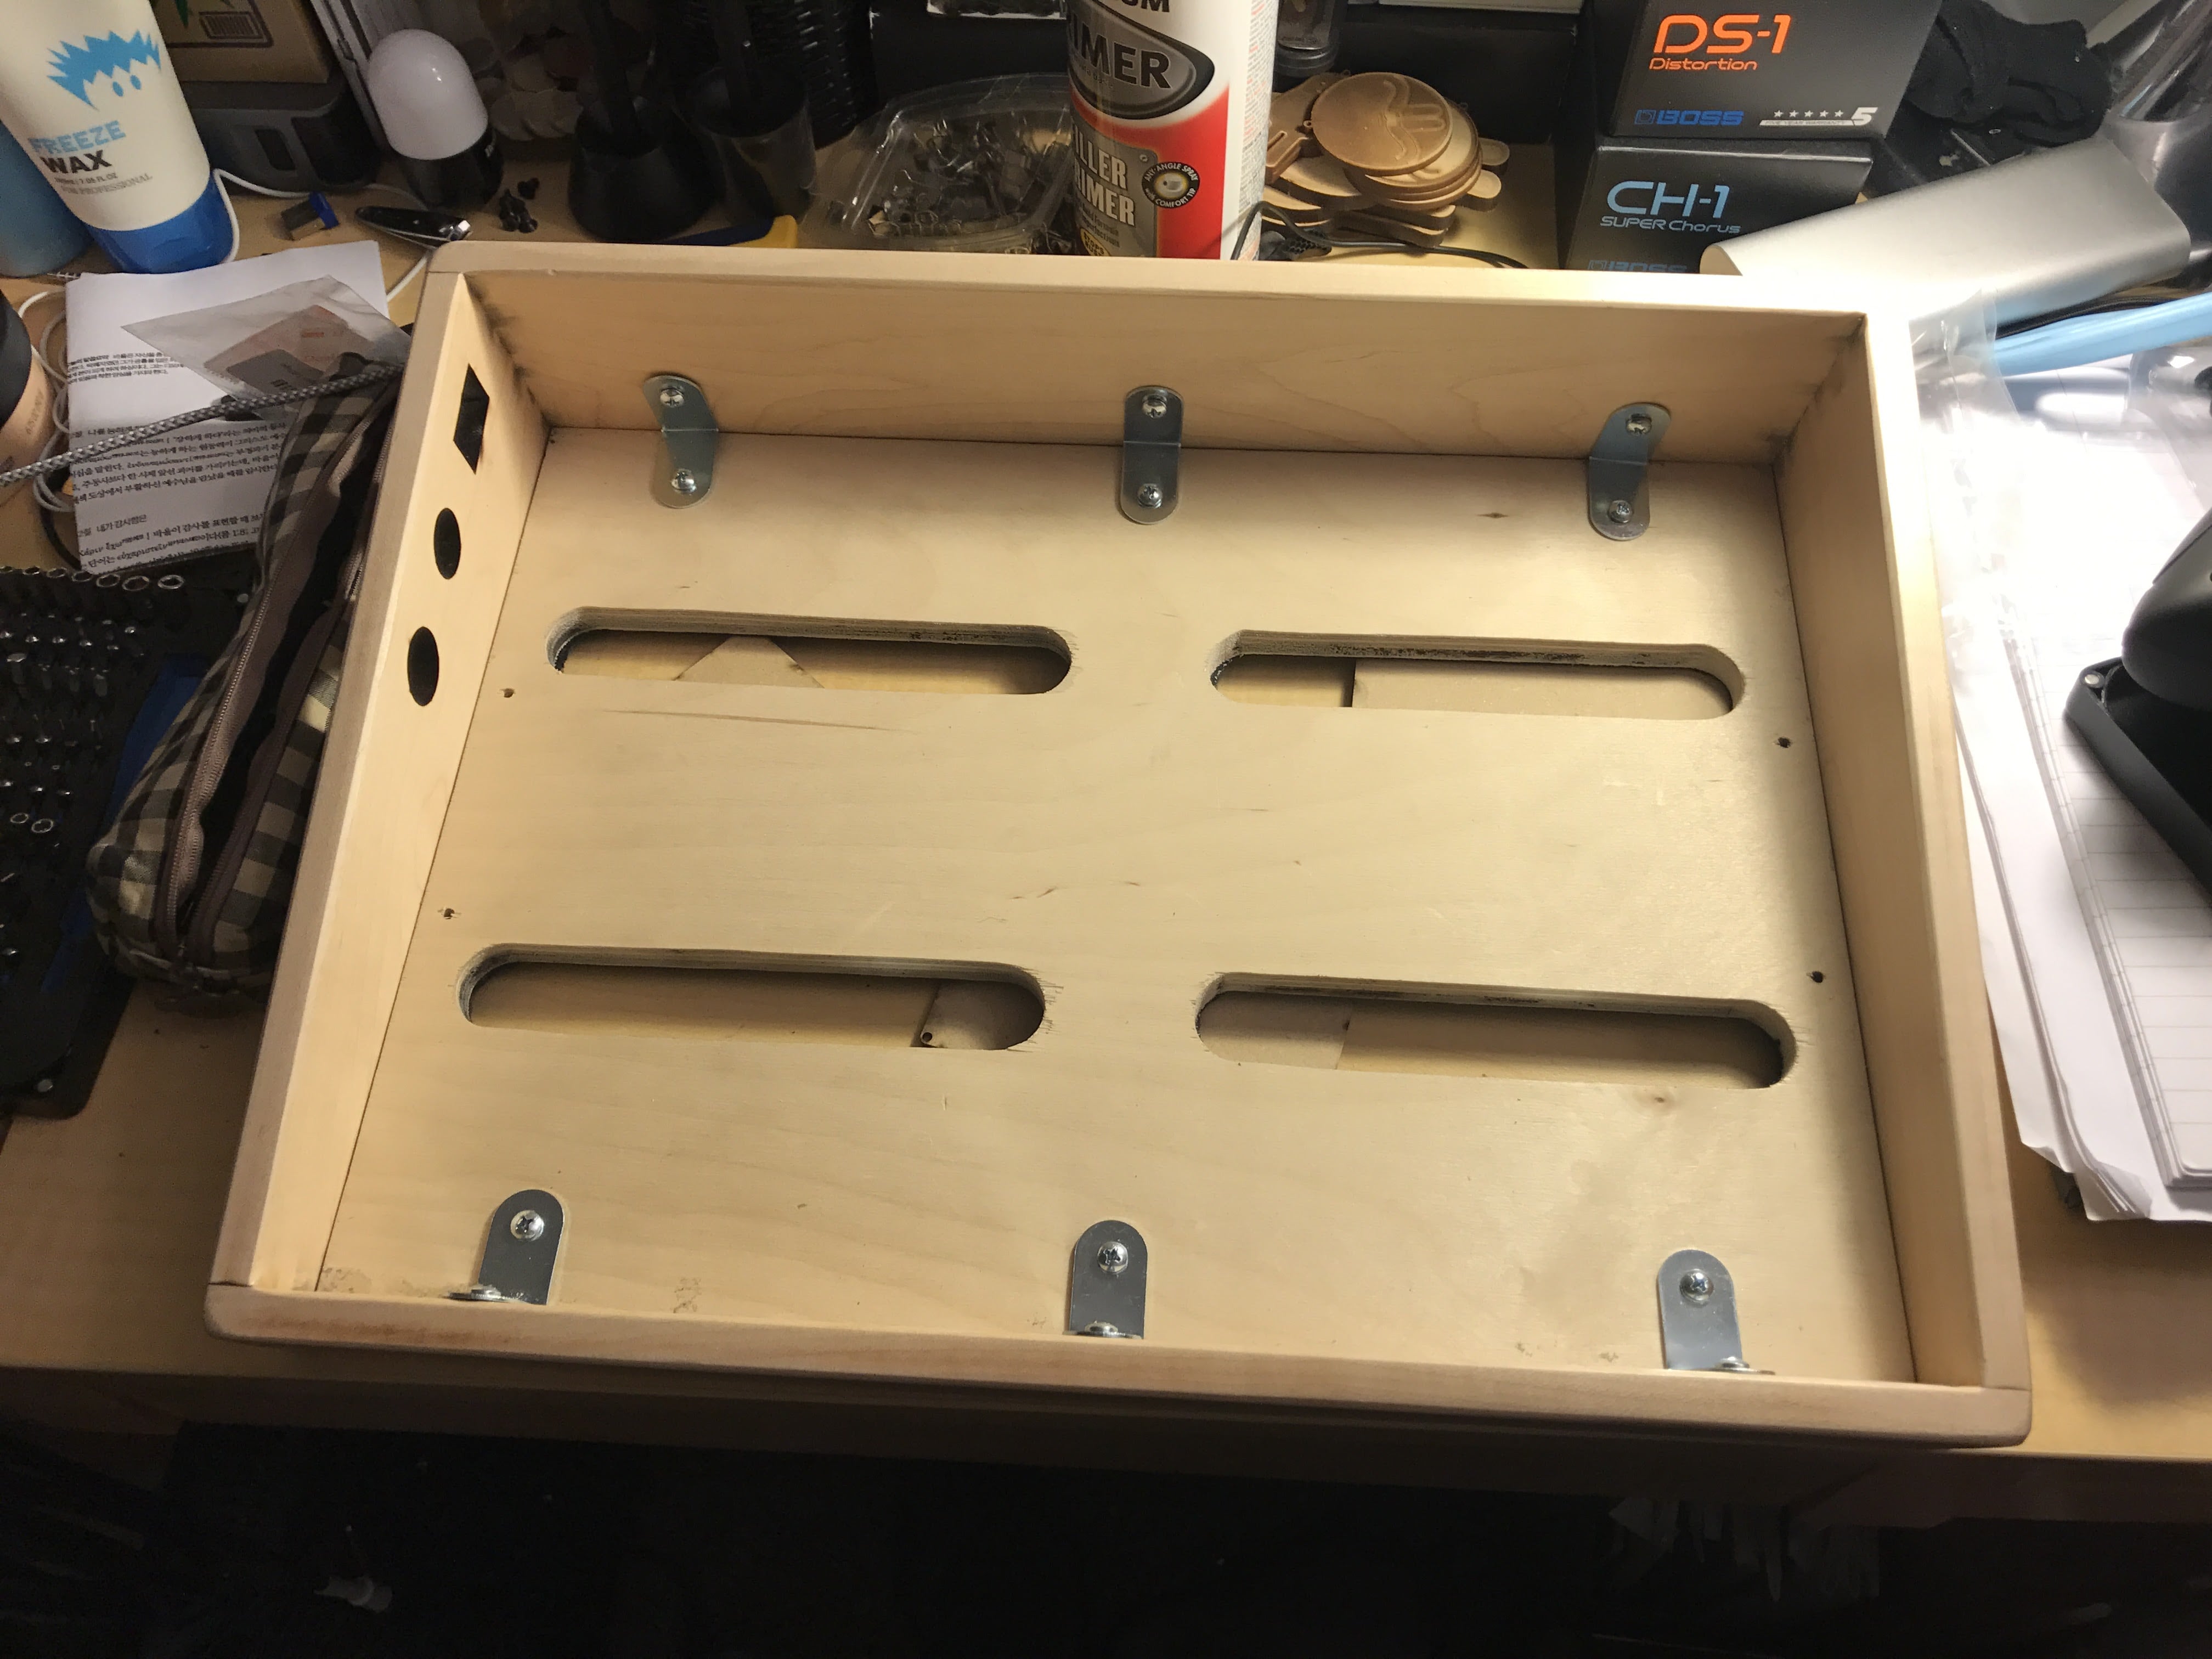
Once the glue dried up holding the velcro, now it was time to assemble the entire board together. I ordered custom nuts and bolts to use and a holder to hold the two pieces firmly together:
After assembling the boards together, it was matter of putting and soldering all the wiring together. I really wanted my pedal to offer as an entire package where users don't have to worry about how to arrange the plugs and wires for power, but just have to simply use the power source available from my pedal. It was my attempt to enhance the user experience by making it easy.
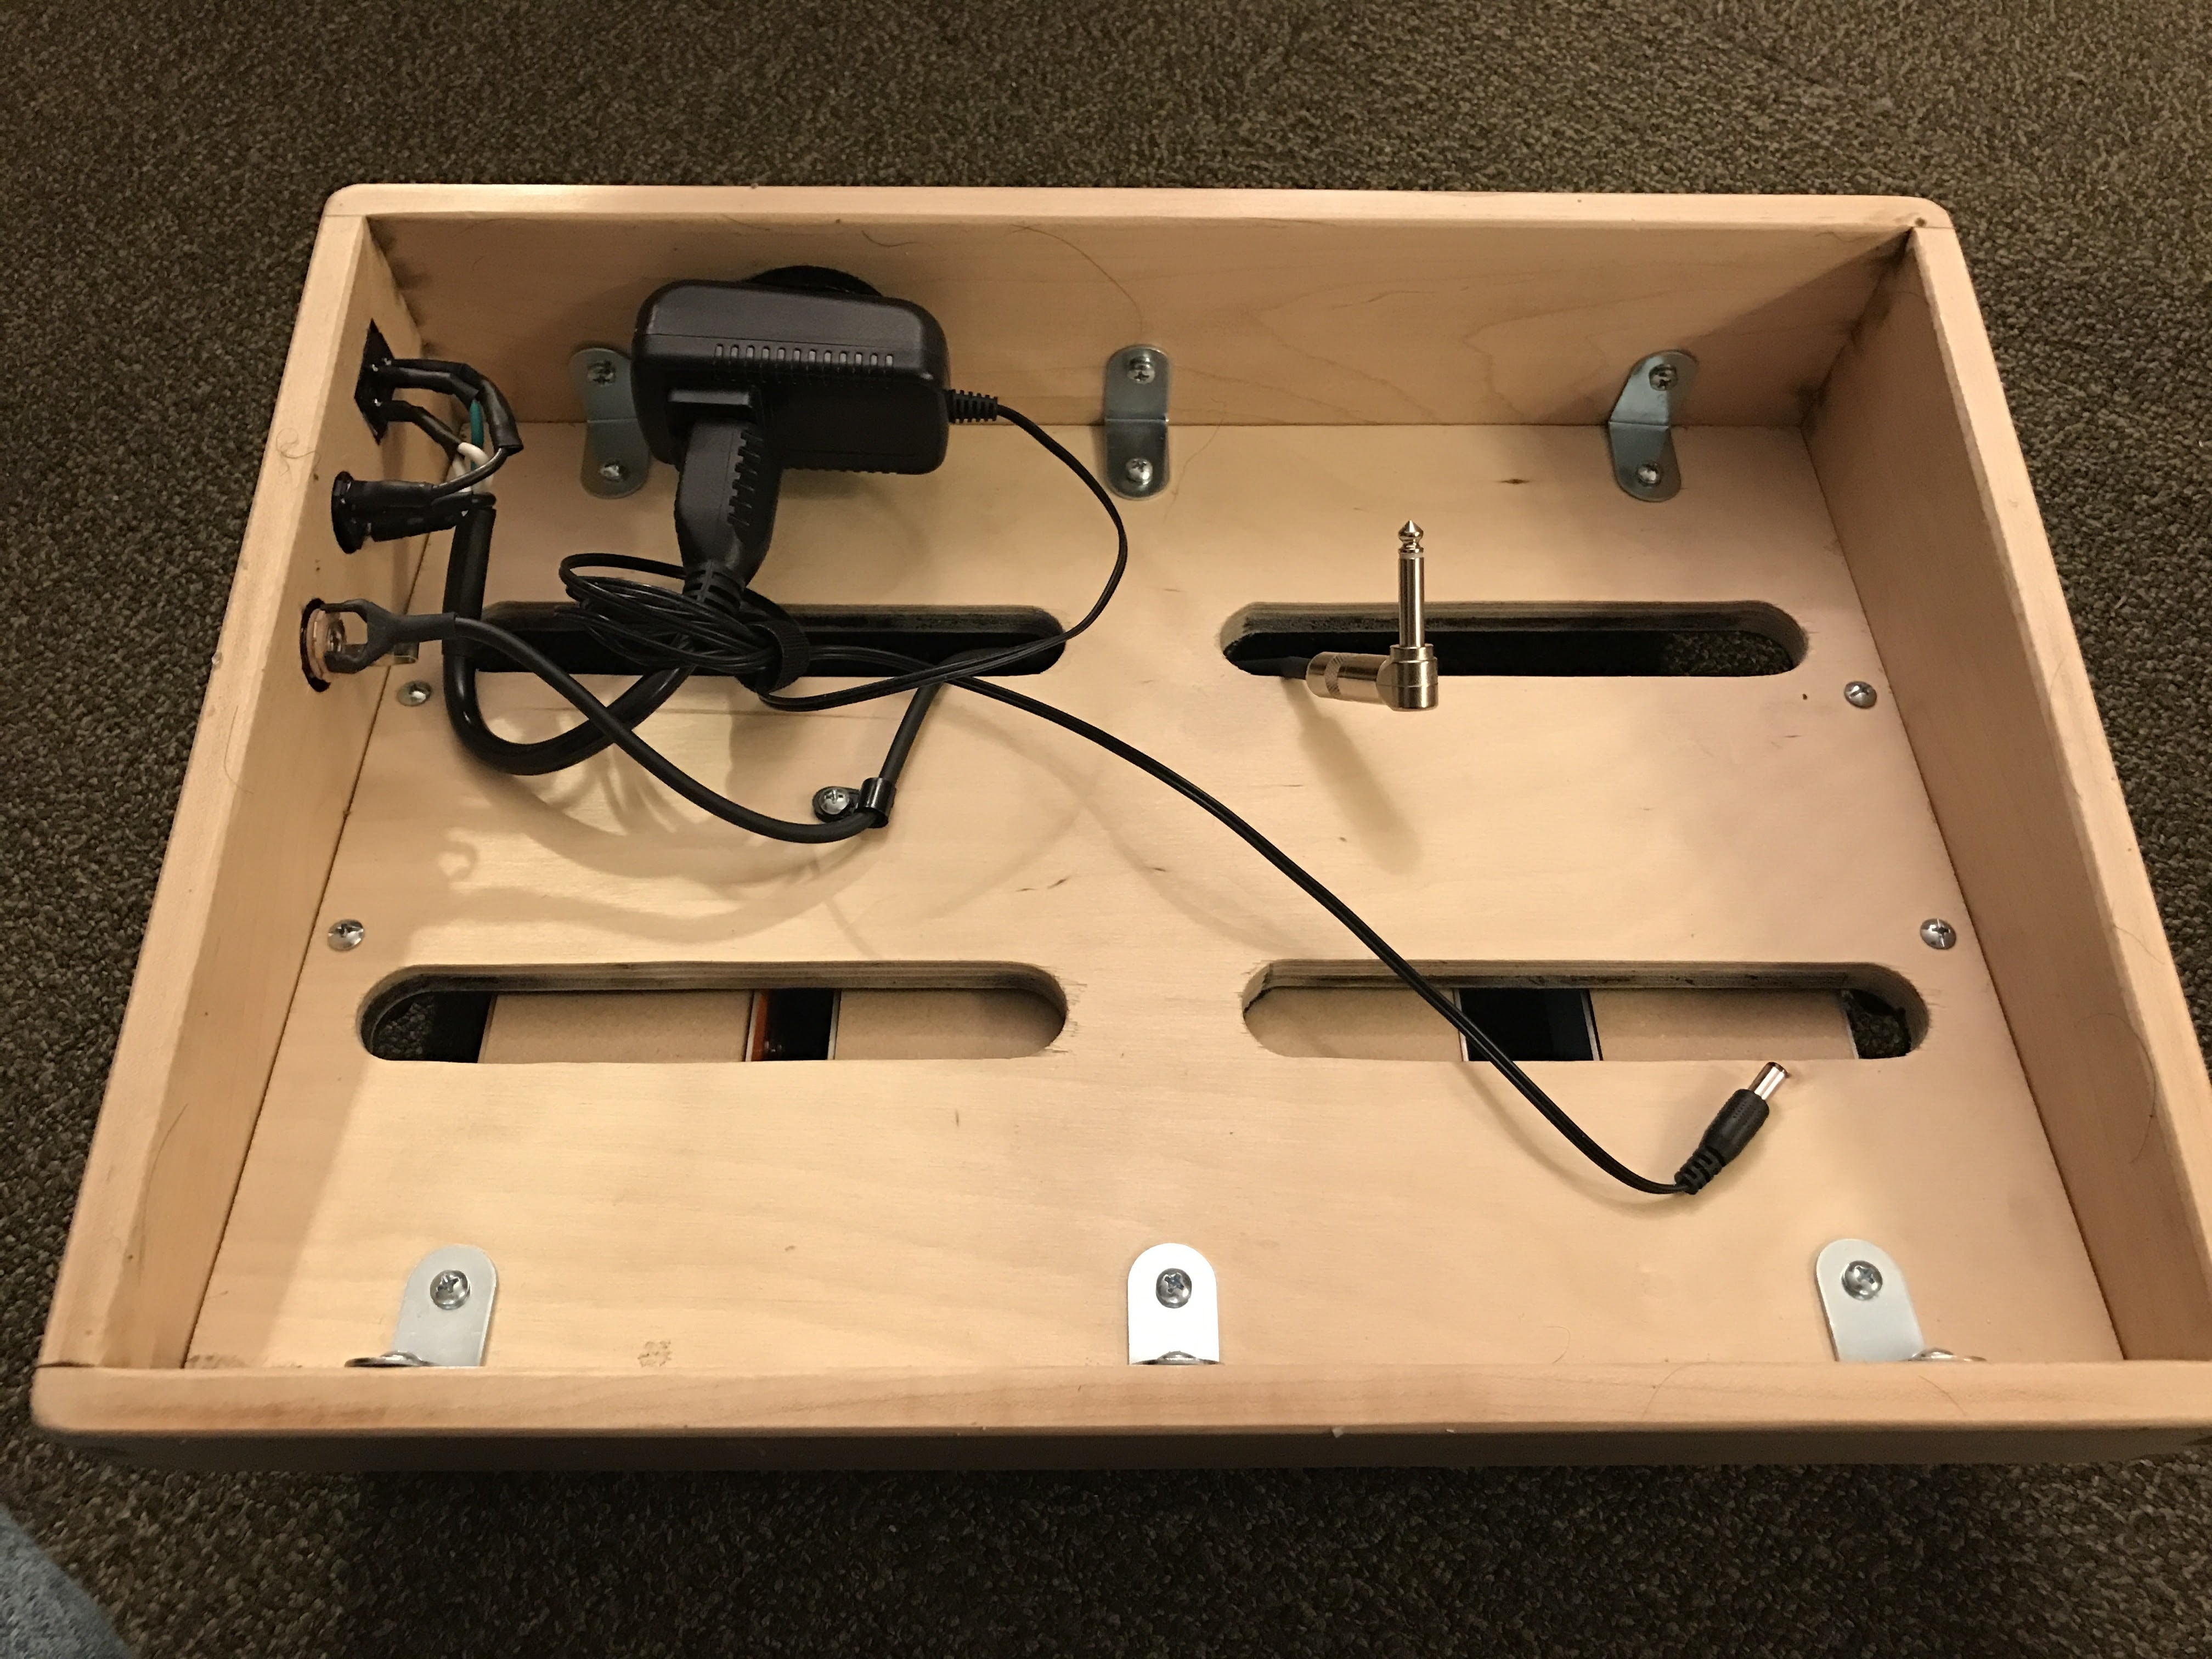
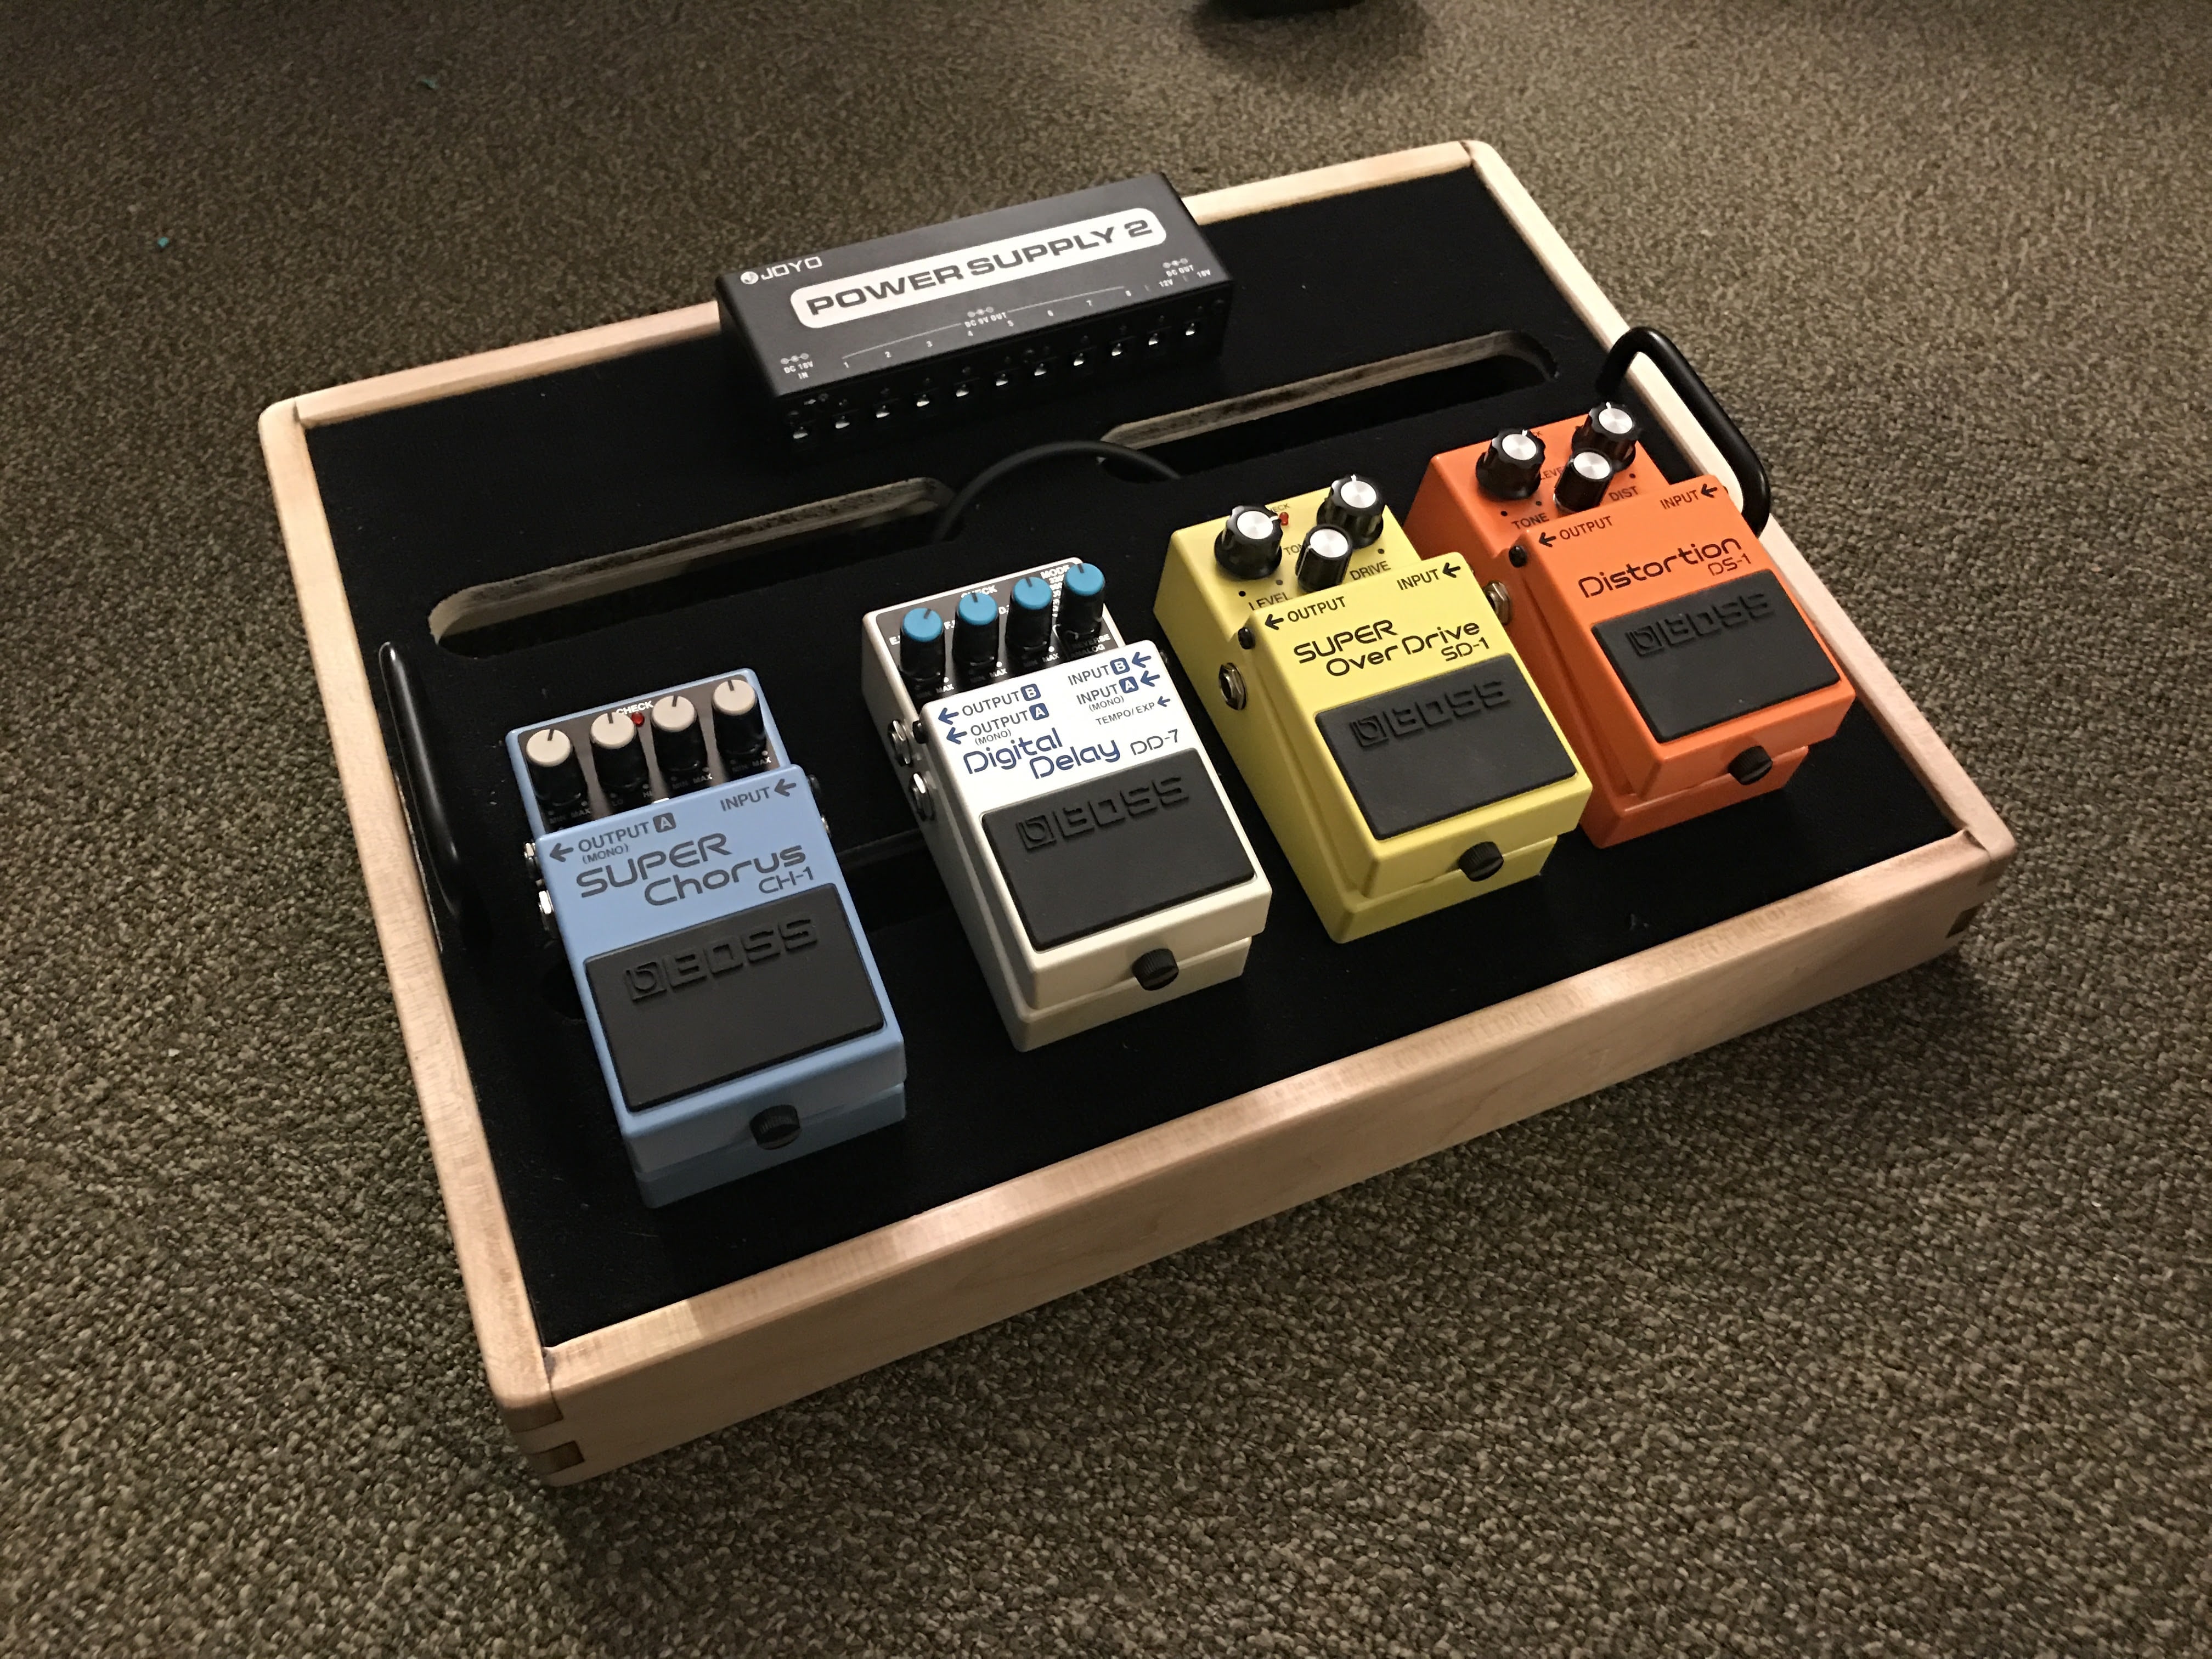
Once the wiring was done, my pedal board was complete!
After creating the pedal board I realized how small my board was - obviously shows how inexperienced I am in playing guitar. Nevertheless it was very fun and rewarding process.
Update - 11/16/2019: The current guitar pedal is being used by one of my teammate in my church band - I was quite surprised how durable my pedal was, and I never knew how satisfying to see other people enjoying using my product.